A single mandala or devotional figure gives you one centered piece sized for a shoulder, forearm, or calf. You’re either practicing line weight and curves across several shapes or applying one complete design.
1. Tattoo Stencil Outline Designs
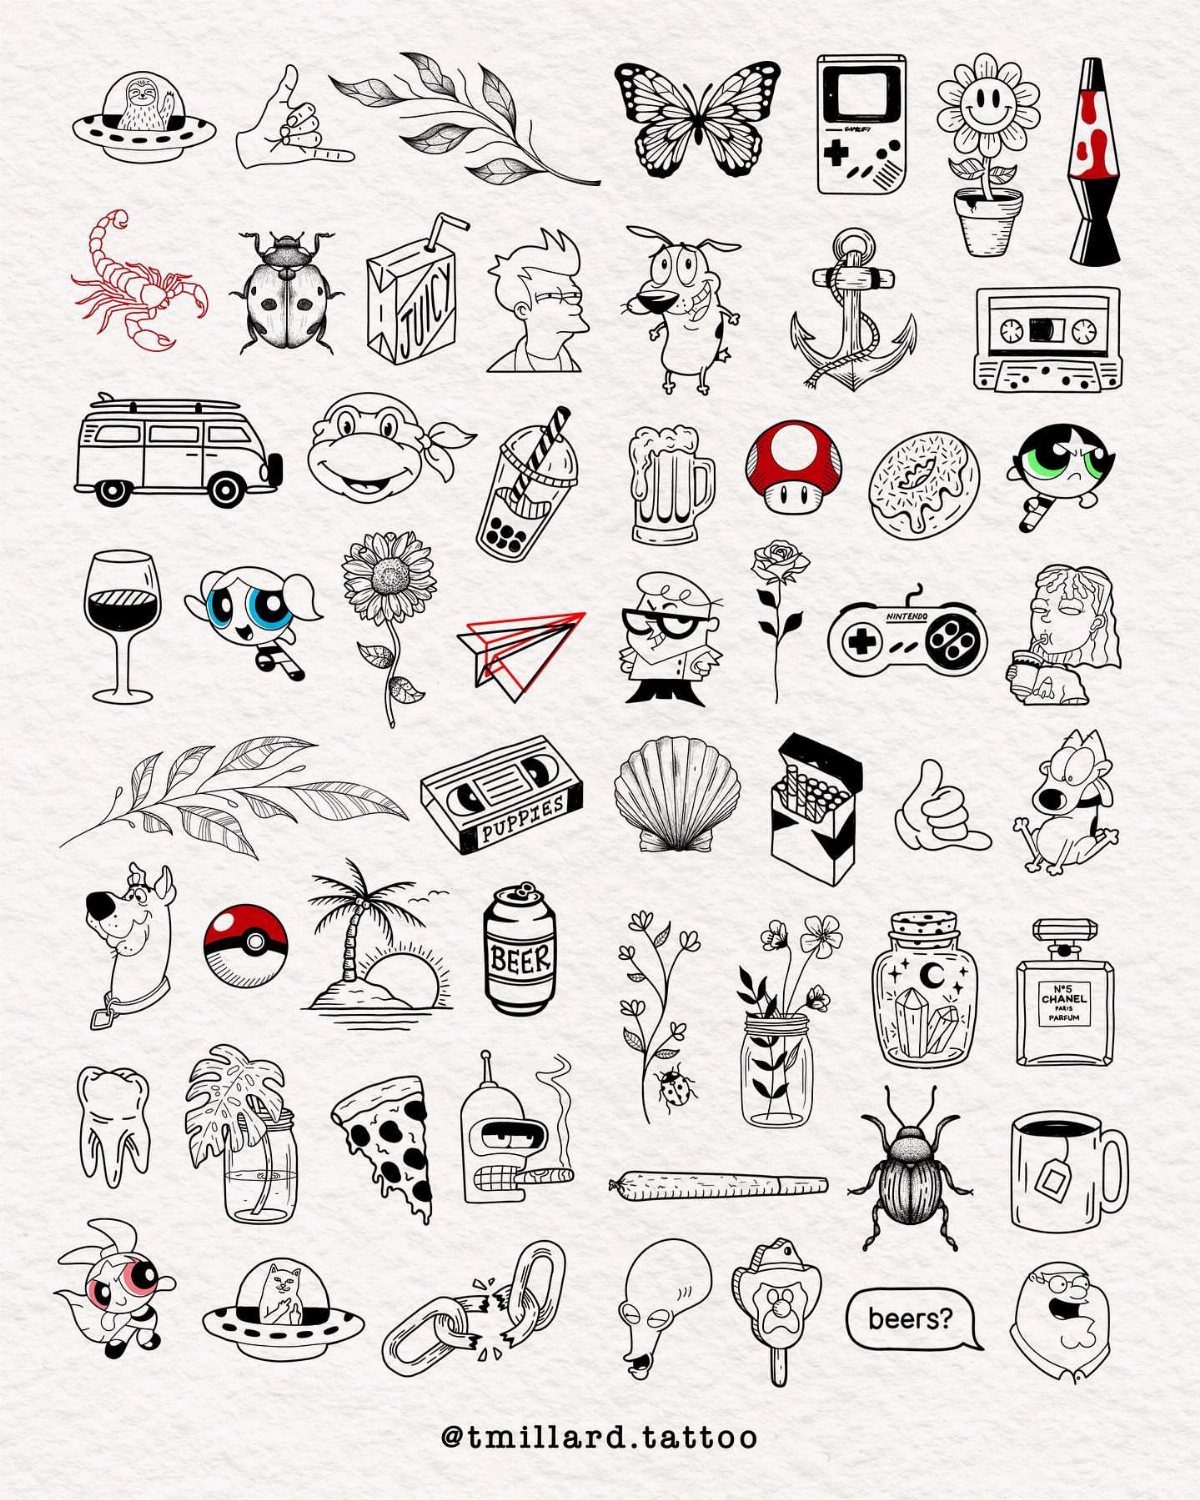
A printable sheet packed with small, simple designs lets you practice on fake skin or trace onto transfer paper, covering multiple subjects in one file.
The mix of shapes lets you work on different line weights and curves without committing to one large piece.
Print these on plain paper first to see how crisp the lines come out. If you’re tracing by hand, tape the sheet flat and use a lightbox or a window in daylight so the outline stays steady under your pen.
Start with the smallest designs. They force clean curves and corners, and any wobble shows up fast.
2. Tattoo Stencil on Fake Skin
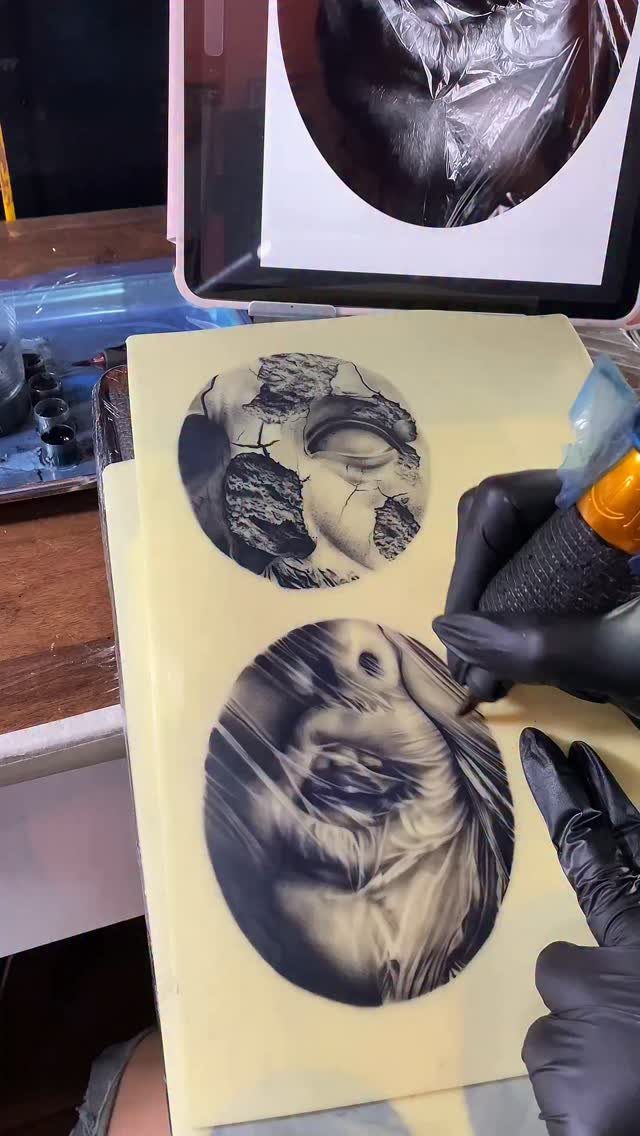
Practicing on fake skin with a stencil applied is the closest you’ll get to real conditions without a live client.
The texture grips the needle differently than paper, and you learn how much pressure keeps the line clean without blowing out.
Apply the stencil the same way you would on skin: clean the surface with alcohol, let it dry, then press the transfer firmly and hold for a few seconds before peeling. A shaky stencil leads to a crooked tattoo.
Run the machine at a lower speed the first few passes. You can always go over it; you can’t undo a heavy hand.
3. Applying Tattoo Stencil Outline Temporarily
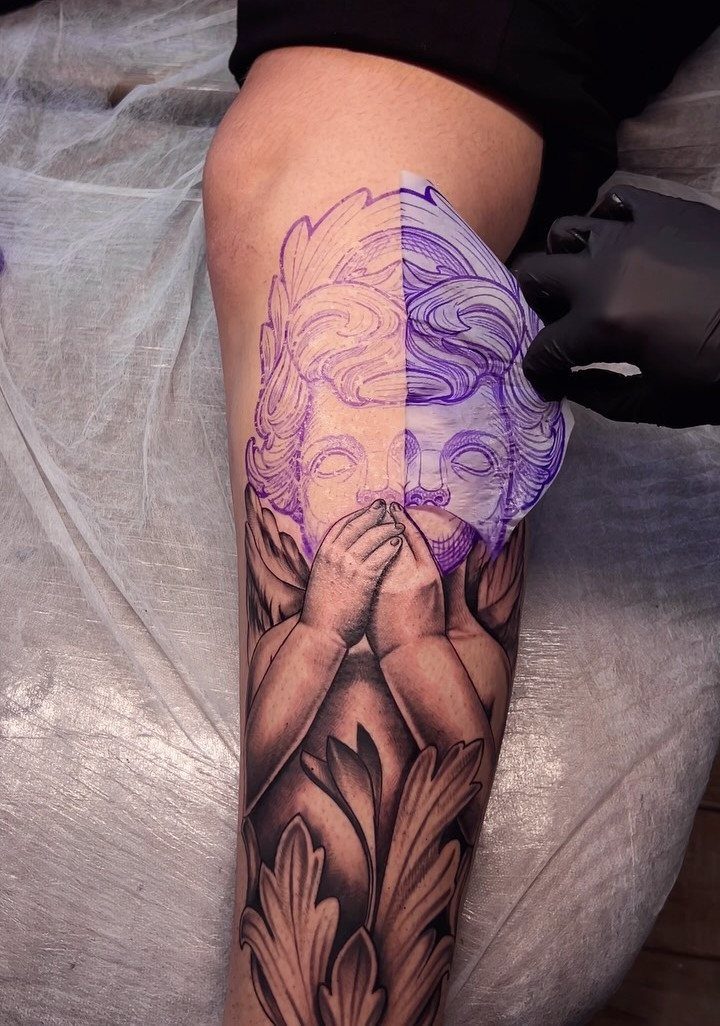
Peeling back a purple stencil after it dries shows whether the outline transferred cleanly onto the skin. The purple ink sits on the surface long enough for the artist to follow it, then fades as the real tattoo takes shape.
Clean the area with rubbing alcohol or stencil prep solution, then press the stencil down firmly while the surface is still slightly damp.
If you lift too soon, the lines come out patchy. If the skin is damp or oily, the transfer won’t stick.
Check the edges before you start tattooing. A smudged outline means redoing the stencil, not guessing the line mid-session.
4. Purple Mandala Stencil Outline
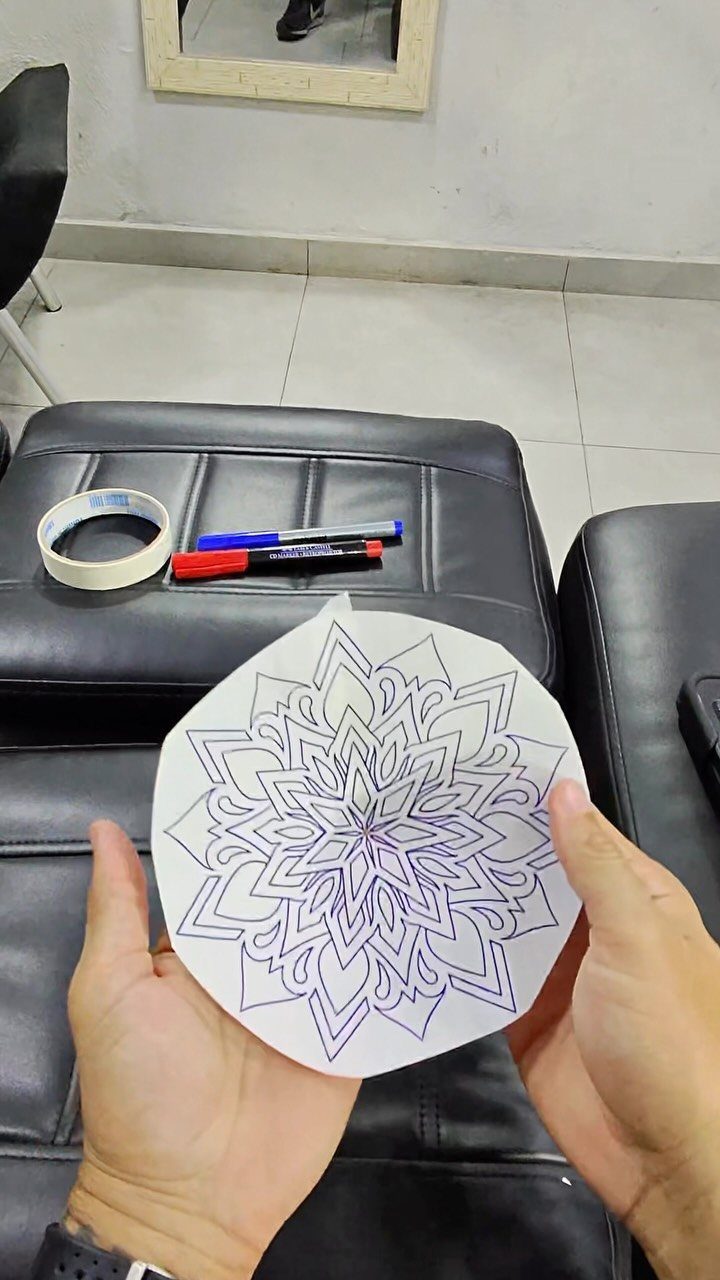
A circular mandala stencil printed in purple offers a symmetrical outline ready to apply or trace.
The radial pattern makes it easy to center on a shoulder, back, or thigh, and the purple transfer ink shows exactly where each petal and geometric line will sit.
Print the design at the size you need before cutting it out. Most mandala stencils look best between 4 and 8 inches across, depending on placement.
For a temporary test of the fit, use stencil transfer paper and press it firmly. The purple will last a few hours on clean, dry skin.
5. Praying Woman Line Art Outline

A veiled woman praying with rosary beads, flanked by ornate floral scrolls, delivers a classic devotional design that reads well from a distance.
The clean black linework makes it easy to transfer onto skin or print for practice on fake skin.
The floral scrolls on either side balance the figure and give you room to adjust the width if you’re fitting this onto a forearm or calf.
Print the outline at the size you need, then apply it with transfer paper or trace it by hand to tweak the details.
This style suits clients who want a traditional religious tattoo with fine details that hold up over time.