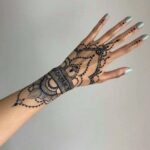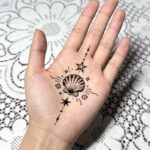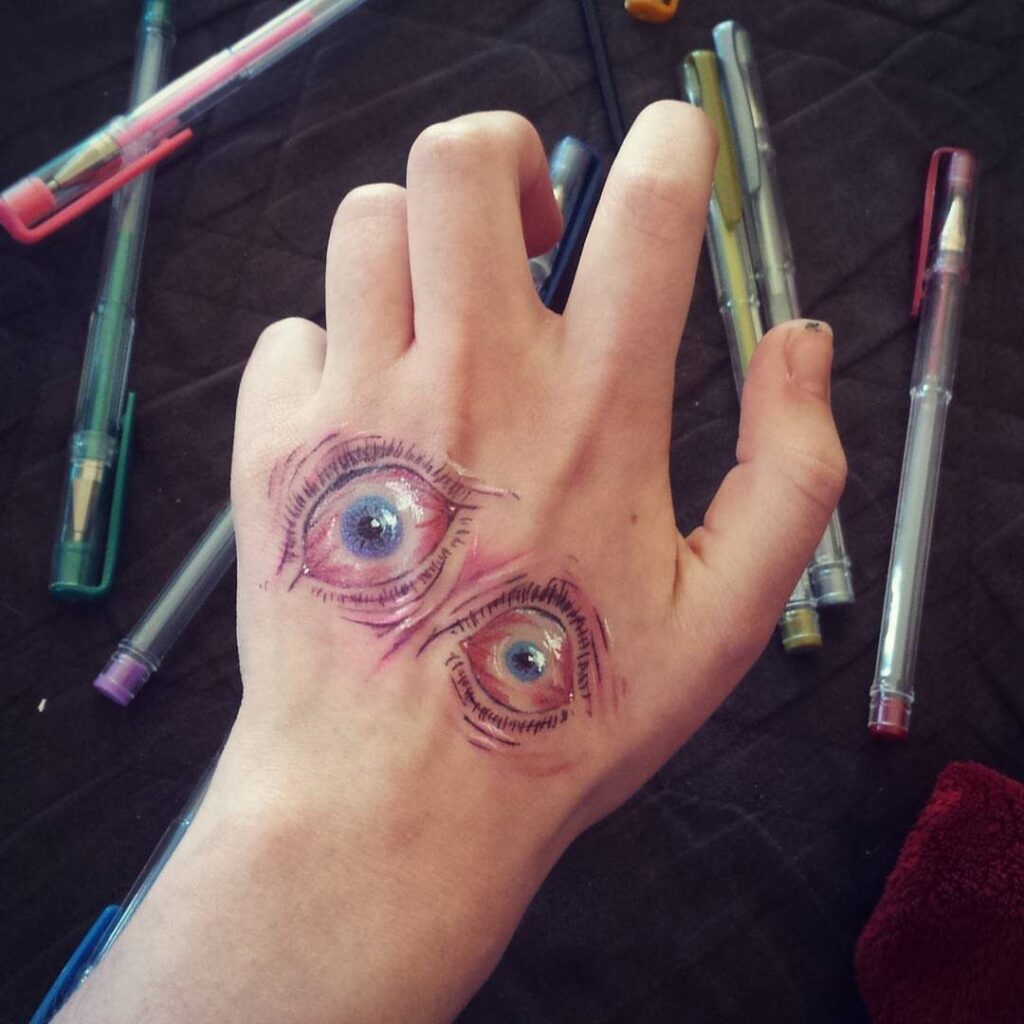
A realistic eye drawn across the back of your hand lets you practice iris detail and shading before you commit to skin, while scattered stars and abstract symbols test placement fast and wash off when you’re done.
The choice depends on whether you want one finished eye or cross, or a surface covered in scattered stars and loose pen marks.
Eyes and crosses sit cleanly on the hand, tribal curves follow the forearm’s natural taper, and scattered stars or abstract scribbles fill space between.
1. Pen Drawings of Eyes on Hand
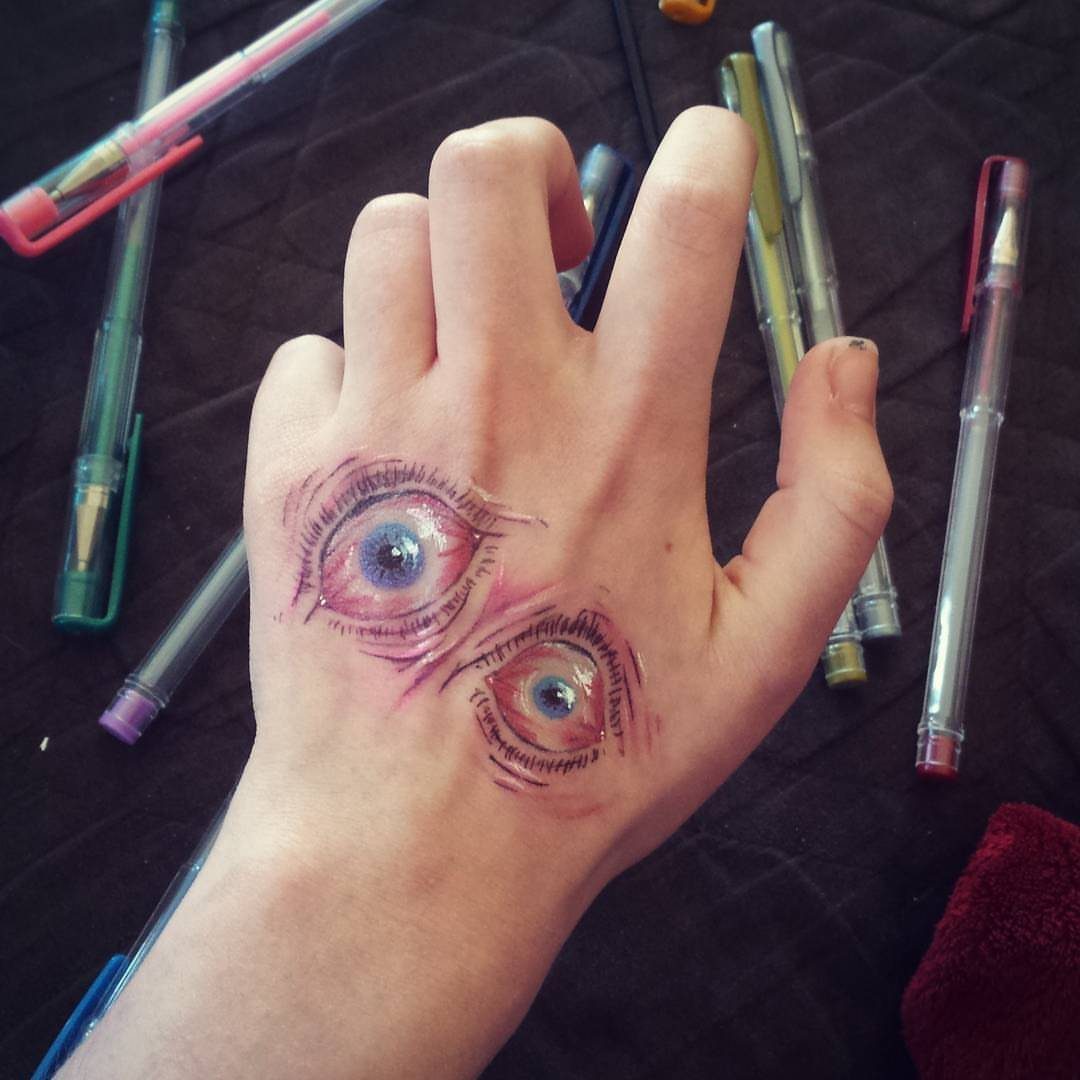
Realistic eyes drawn across the back of your hand give you a way to practice shading and iris detail before you commit to anything permanent.
The curves of knuckles and tendons mean the proportions shift as your hand moves, so the effect changes depending on how you hold it.
Ballpoint pen in black or blue gives you smooth control over the pupil and the fine radiating lines inside the iris.
Start with the outline of the eyelid, then fill the pupil and work outward with short strokes that follow the natural grain of the iris.
2. Pen Floral Patterns on Hand
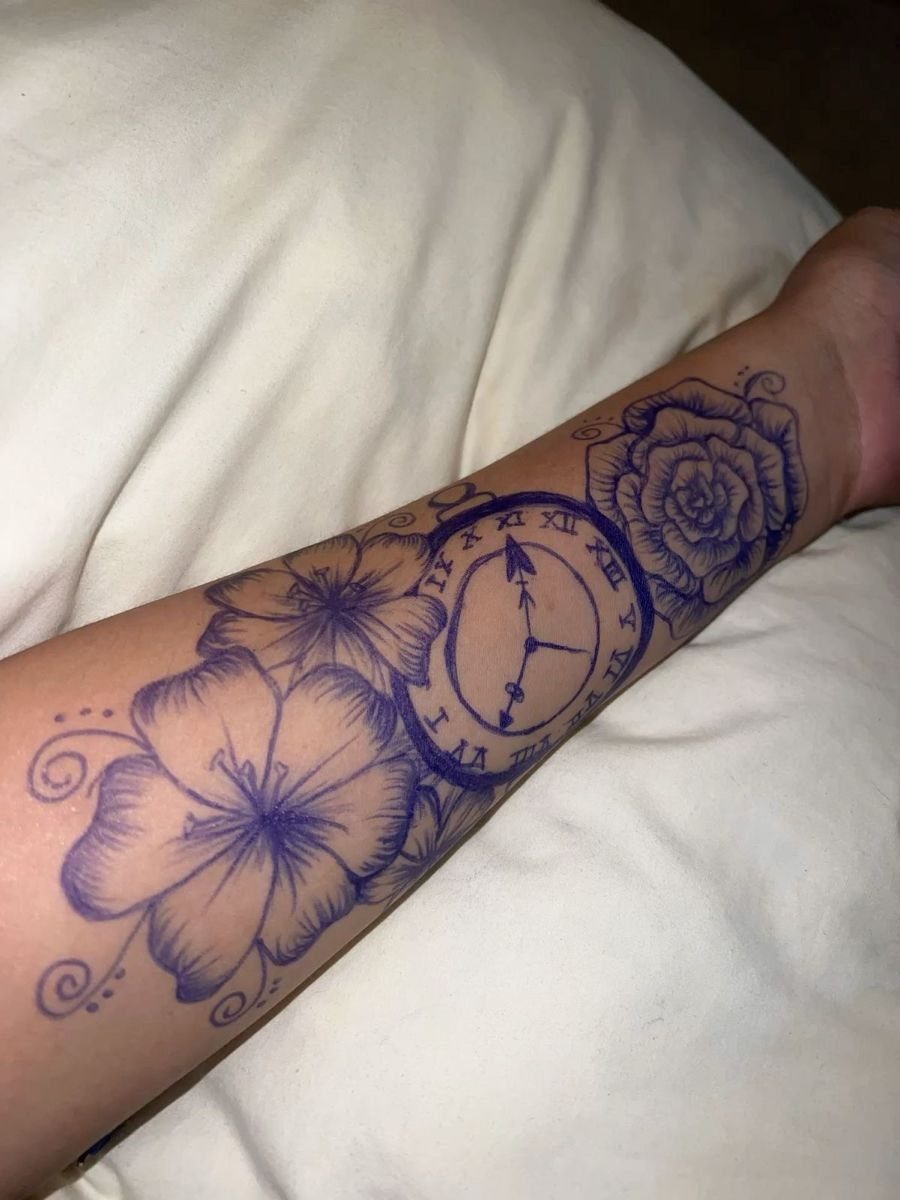
Floral patterns with long curving stems let you fill the length of your forearm without needing symmetry or a fixed outline. Swirls and spirals connect one flower to the next, so you can keep adding as you go.
Blue ballpoint ink shows up clean against most skin tones and washes off easily when you’re done.
Draw the stems first to set the flow, then add petals in loose clusters. A small clock face or geometric shape near the wrist anchors the design and stops it from floating.
3. Black Ink Pen Tribal Patterns
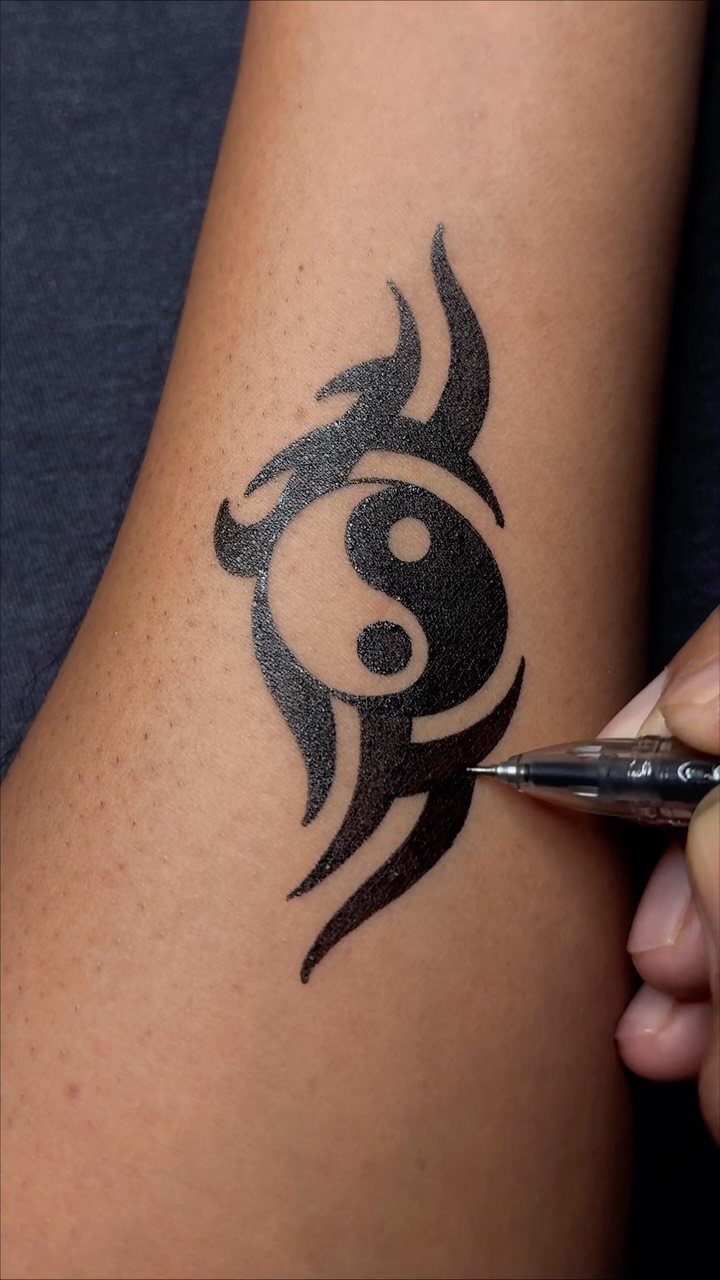
Tribal patterns built around a yin-yang center give you sharp symmetry without needing stencil transfer. The curved outer edges follow the natural taper of your forearm and read clearly from any angle.
Black gel pen holds a crisp edge on pointed shapes.
Start at the center circle and work outward in mirrored sections, keeping each half balanced. The contrast between thick filled zones and thin bridging lines is what makes tribal patterns hold up when the arm rotates.
4. Black Ink Pen Cross Tattoo
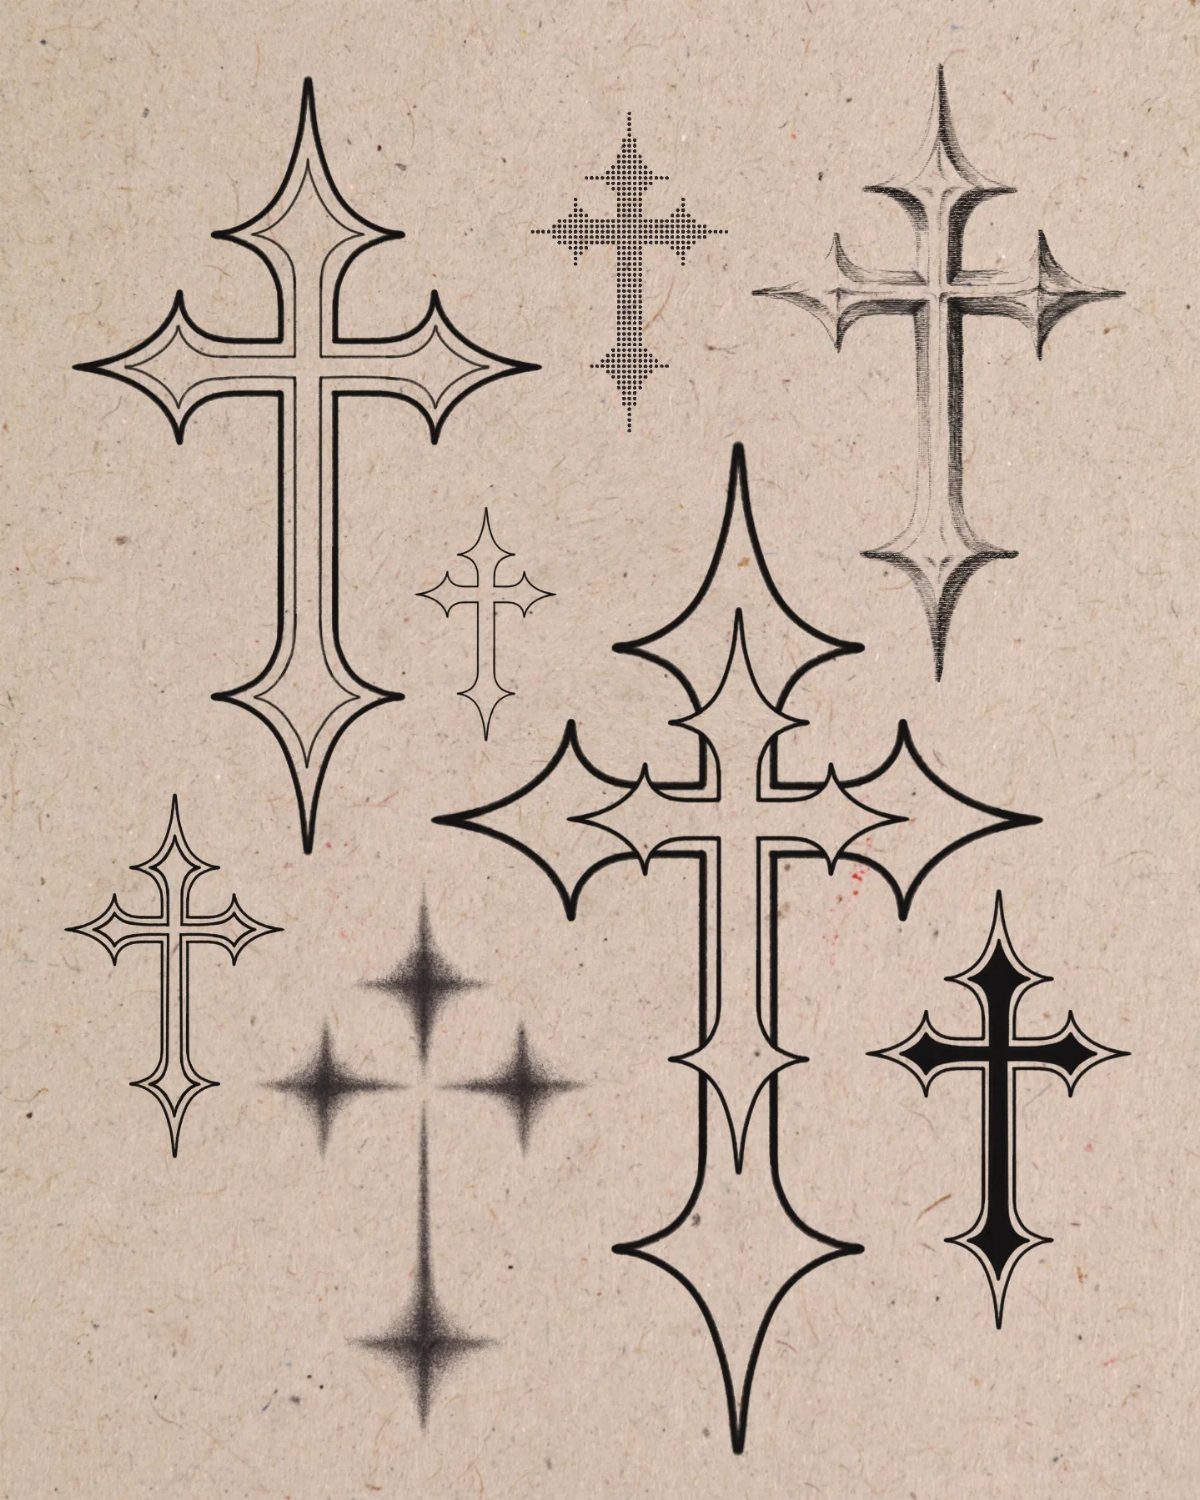
Curved edges and flared ends take the cross away from rigid right angles, and the open space inside each arm is perfect for pattern or detail.
The curves let the design sit comfortably on the forearm or shoulder without looking rigid.
Fine-point black pen lets you keep the edges smooth and the interior details legible.
Draw the vertical beam first, then add the horizontal arms and shape the curves at each end. Small hash marks or dots inside the arms add texture without cluttering the outline.
5. Pen Abstract Scribbles on Hand
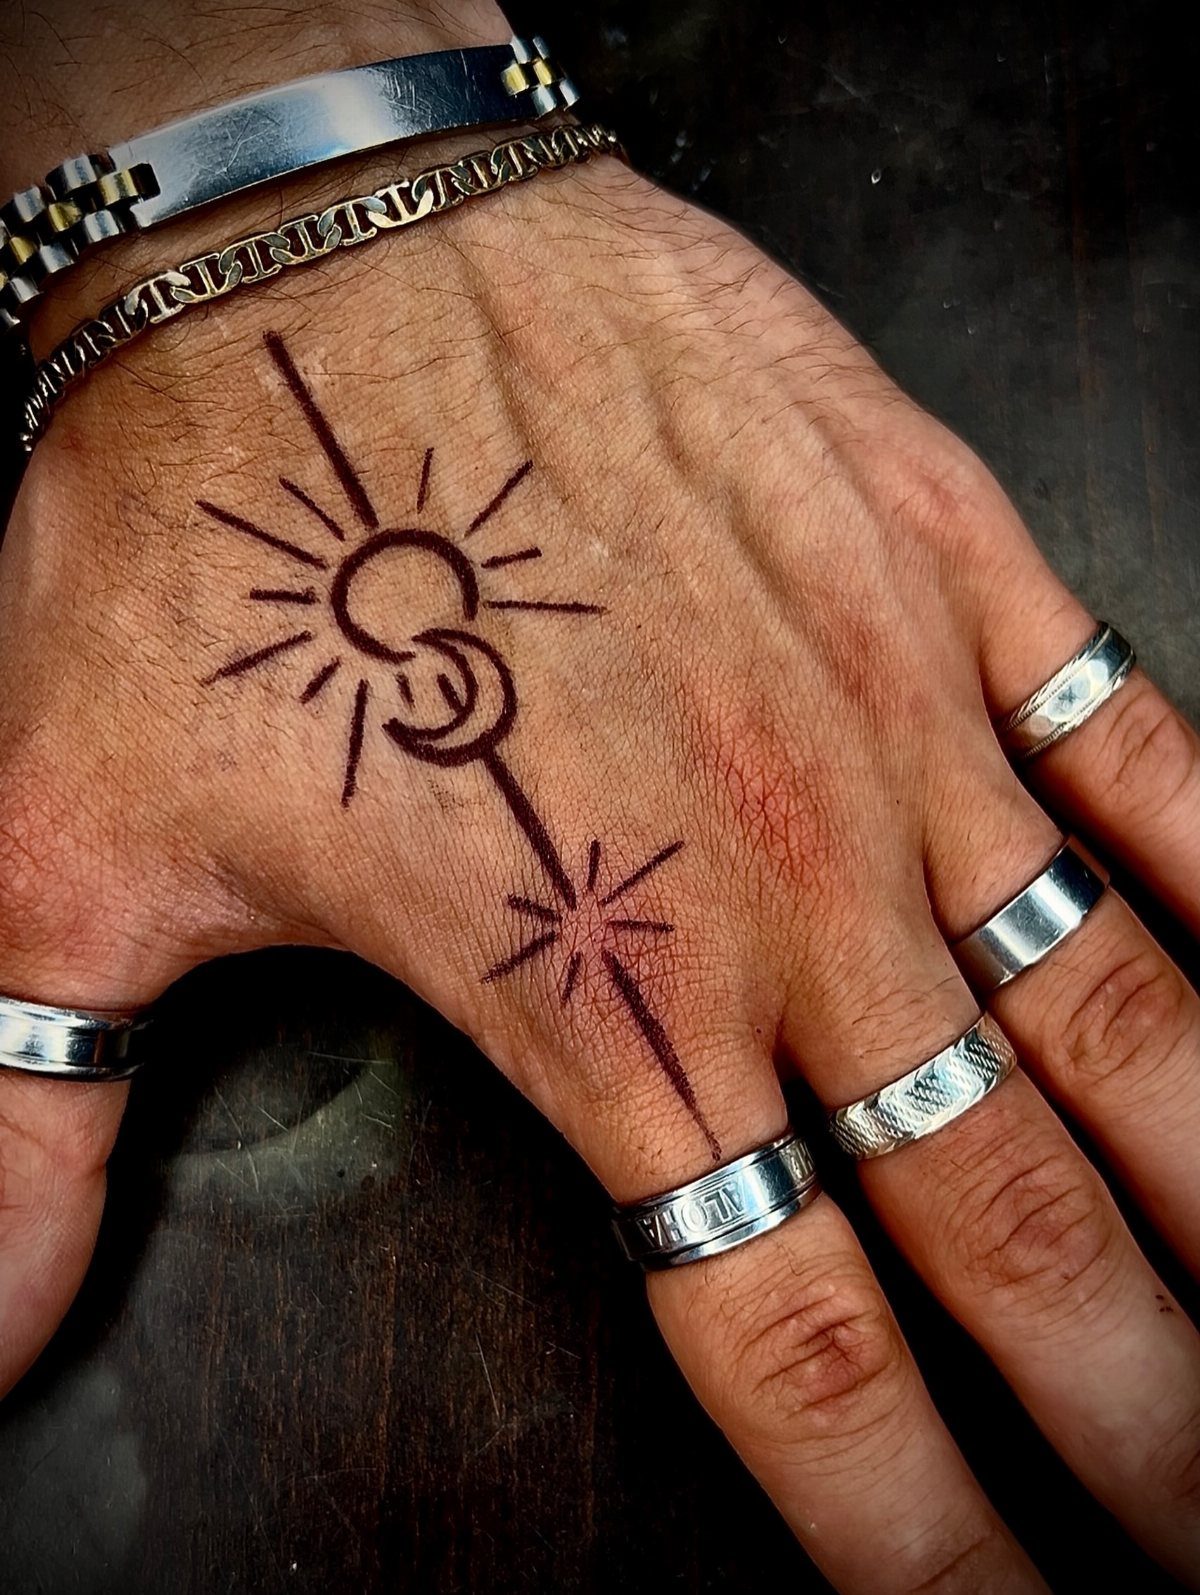
Small symbols scattered across the back of your hand, a crescent moon next to a sun or a star cluster near your thumb, let you test placement and size before you pick one to make permanent.
The loose arrangement feels casual and gives you flexibility to stop when the composition looks balanced.
Black ballpoint pen dries fast and won’t smudge when your hand brushes fabric. Draw each symbol separately instead of connecting them with lines, so each piece stands alone and the hand doesn’t look overcrowded.
6. Black Ink Pen Stars
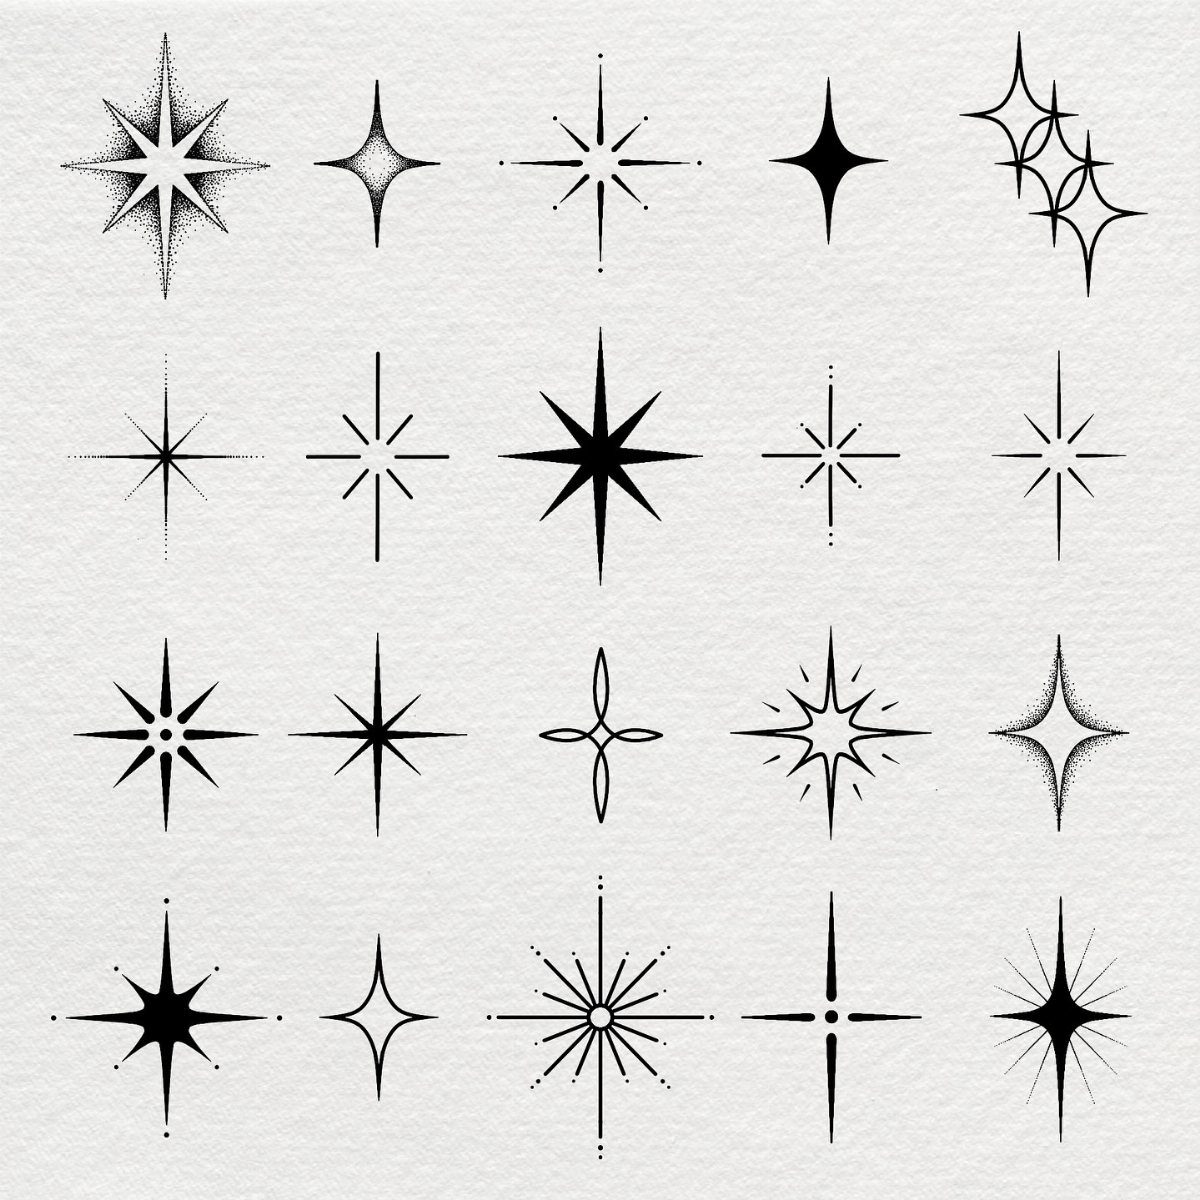
Stars in different sizes, from tiny sparks to 5-pointed outlines, give you a flexible filler pattern that works on any flat patch of skin.
Adding small crosses between the stars breaks up the repetition and keeps the design from looking like clip art.
Black fine-point pen keeps the smaller stars from bleeding together.
Draw the larger stars with full outlines and fill the smaller ones solid, then scatter crosses at random intervals. The mix of filled and open shapes adds depth without needing shading.
7. Pen Doodles Across Thighs and Legs
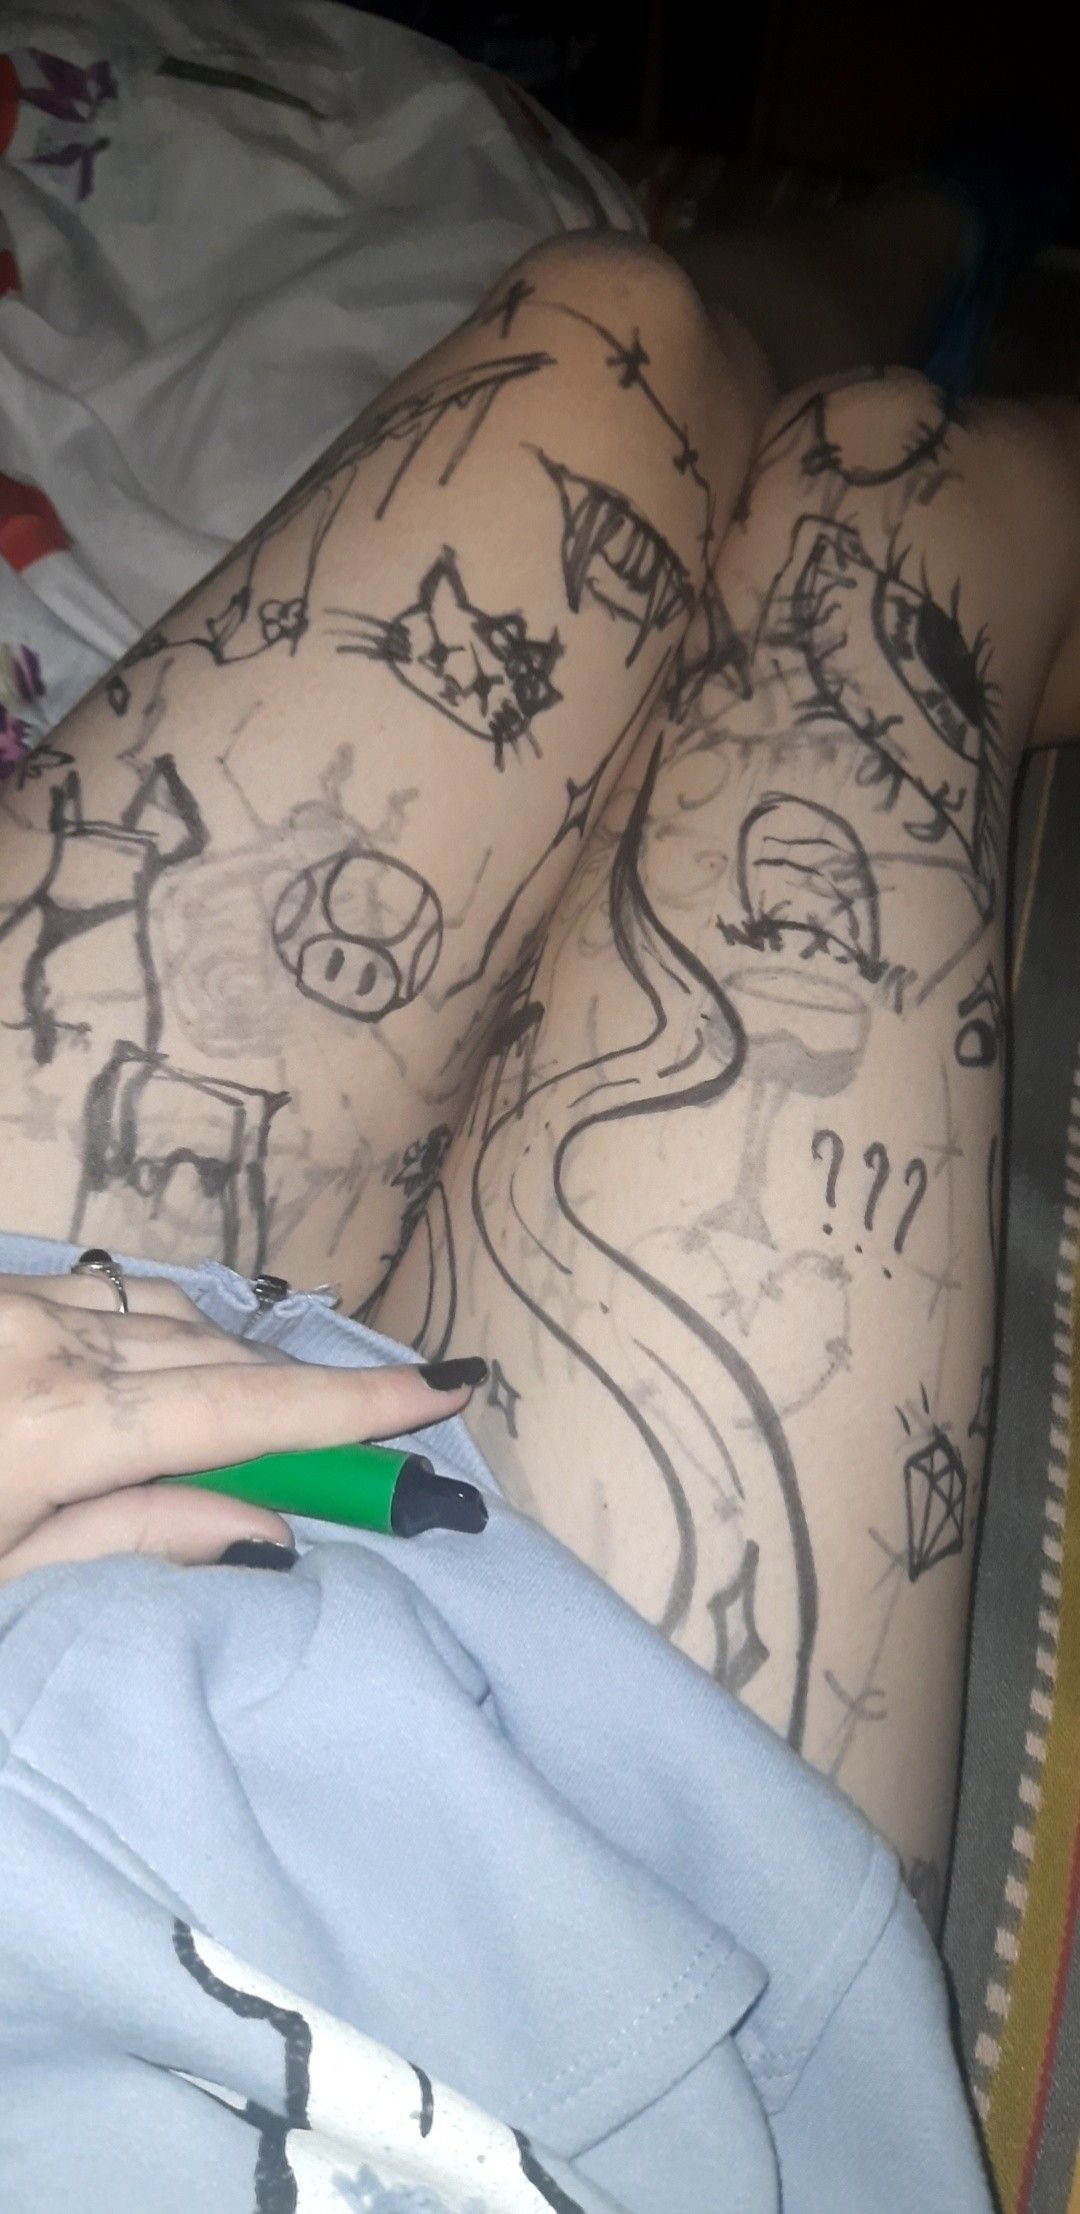
Covering your thighs and legs with loose pen doodles gives you a large working surface where nothing has to line up. Stars, swirls, faces and words sit wherever they land, and the randomness is part of the look.
Black ballpoint or marker dries fast, which keeps the design sharp on skin that touches or overlaps.
Fill one thigh first, then move to the other, leaving gaps so the skin shows through. The scattered arrangement means you can stop anytime without the design looking unfinished.
8. Lightning Bolt with Crescent Moon
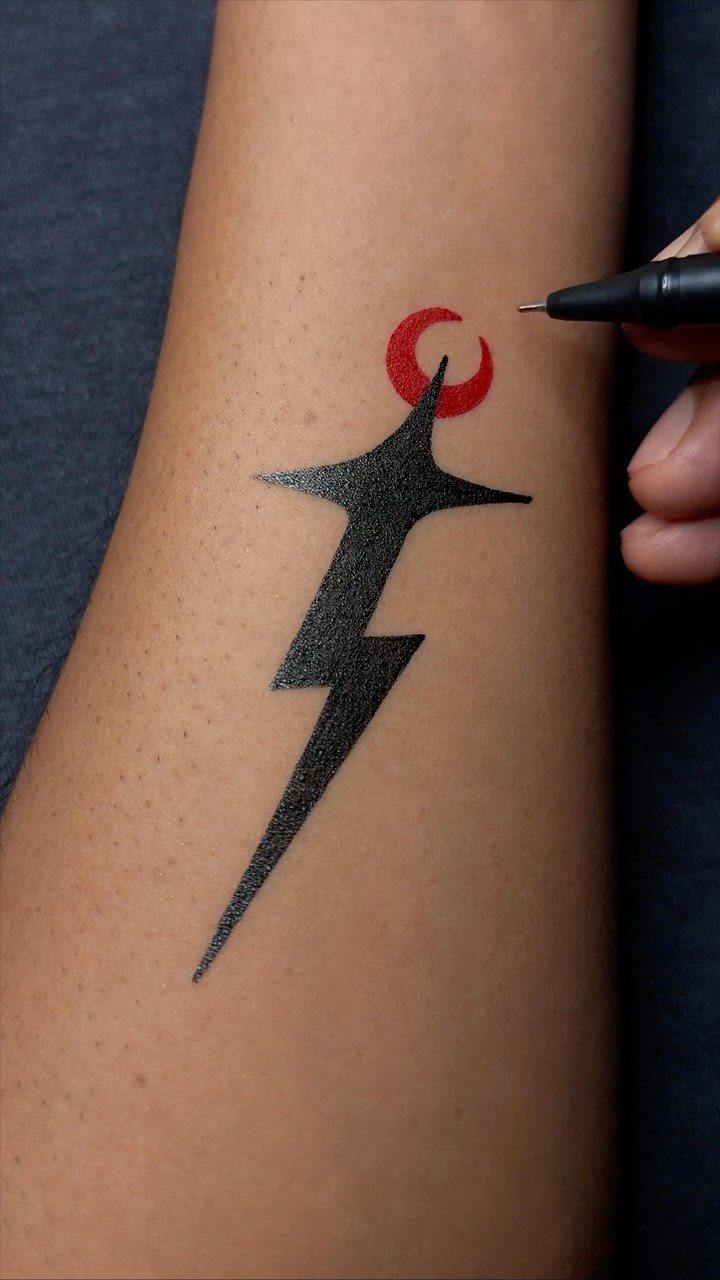
A lightning bolt angled down the forearm with a small crescent moon beside it reads clean from a distance and draws quickly. The contrast between black and red keeps the 2 shapes separate even when they sit close together.
Black gel pen holds the sharp edges on the bolt’s zigzag, and red fills the crescent without bleeding into the black.
Draw the bolt first to set the angle, then add the moon near the point or off to one side.
9. Hanging Spider on Forearm
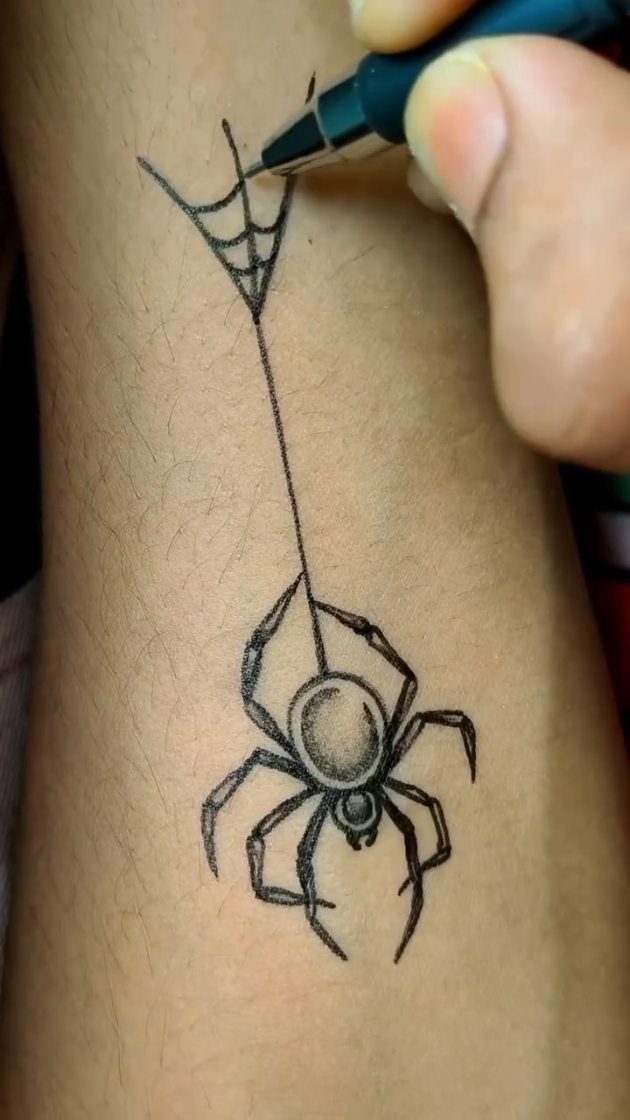
A spider hanging from a single strand of web along your forearm plays with negative space, the thread is just as much of the design as the spider itself.
The vertical line follows the natural length of the arm and keeps the composition simple.
Black fine-point pen lets you draw the thread as a single unbroken line, then add the spider at whatever height looks balanced. Small legs and a round body are all you need for the shape to register.
Frequently Asked Questions
How long does a pen tattoo last?
Ballpoint or gel pen drawings on skin wash off over a few days, sooner if the area gets wet often or rubs against fabric.
Black ink holds longer than lighter colors, and spots like the forearm or back of the hand fade slower than places where skin folds or sweats.
Which is the best tattoo pen?
For temporary designs on skin, black gel pen or fine-point ballpoint gives you the sharpest edges and cleanest lines.
Gel pens hold crisp detail on pointed shapes and small symbols, while ballpoint in black or blue dries fast and lets you control shading without smudging when your hand moves.