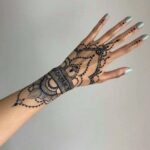
A stencil lets you see the final size and position on your arm before any ink goes in, which catches problems that looked fine on paper.
Inner forearm skin is thinner and fades faster in UV, so stencil placement there often shifts toward the wrist or higher to dodge watch tan lines.
Wrist-to-elbow coverage usually needs 2 or 3 stencil sheets that overlap slightly, and anything with gradient shading will probably book across multiple appointments.
1. Forearm Stencil Tattoo
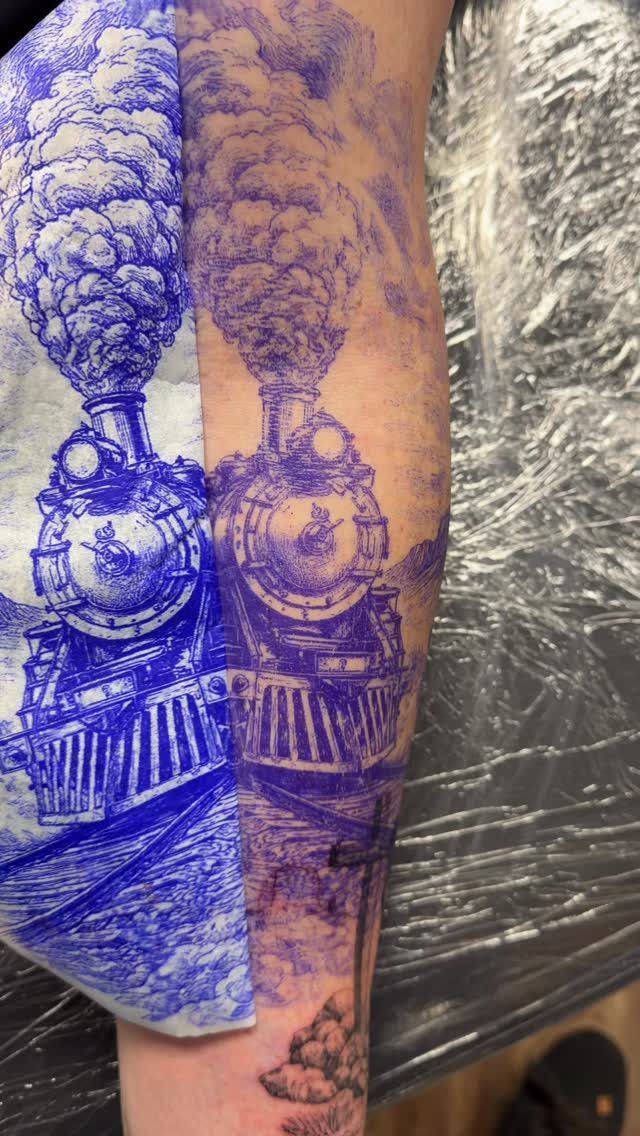
A stencil gives you the exact outline before the needle starts, and seeing it on your skin lets you adjust placement or back out if something feels off.
The purple ink transfers from special paper and sits on the surface until the artist traces it.
Most stencils stay visible long enough for a design this size.
If you’re bringing your own design, make sure the artist has time to print and apply it before your appointment starts. Some studios charge a separate stencil fee if you need multiple tries to get the position right.
2. Forearm Stencil Tattoo Line Work
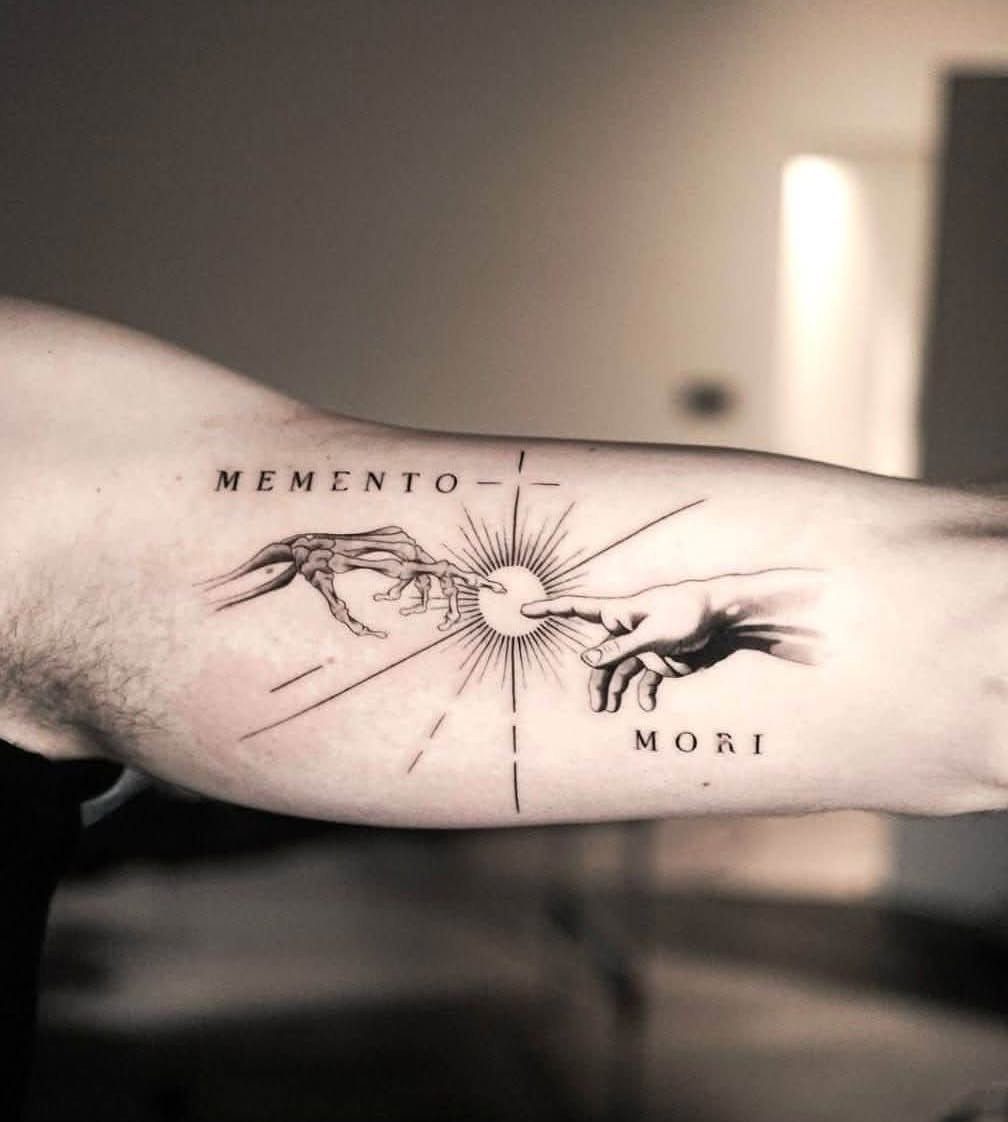
Line work reads well on the forearm because the muscle shape stays consistent when your arm moves. A design like this one, with fine skeletal detail and text, needs clean stencil lines so the artist can follow them without guessing.
Black ink shows every wobble, so the stencil has to land flat against the skin with no wrinkles. If the paper lifts at the edges, the lines won’t transfer cleanly and you’ll see gaps where the artist has to freehand.
3. Inner Forearm Stencil Design
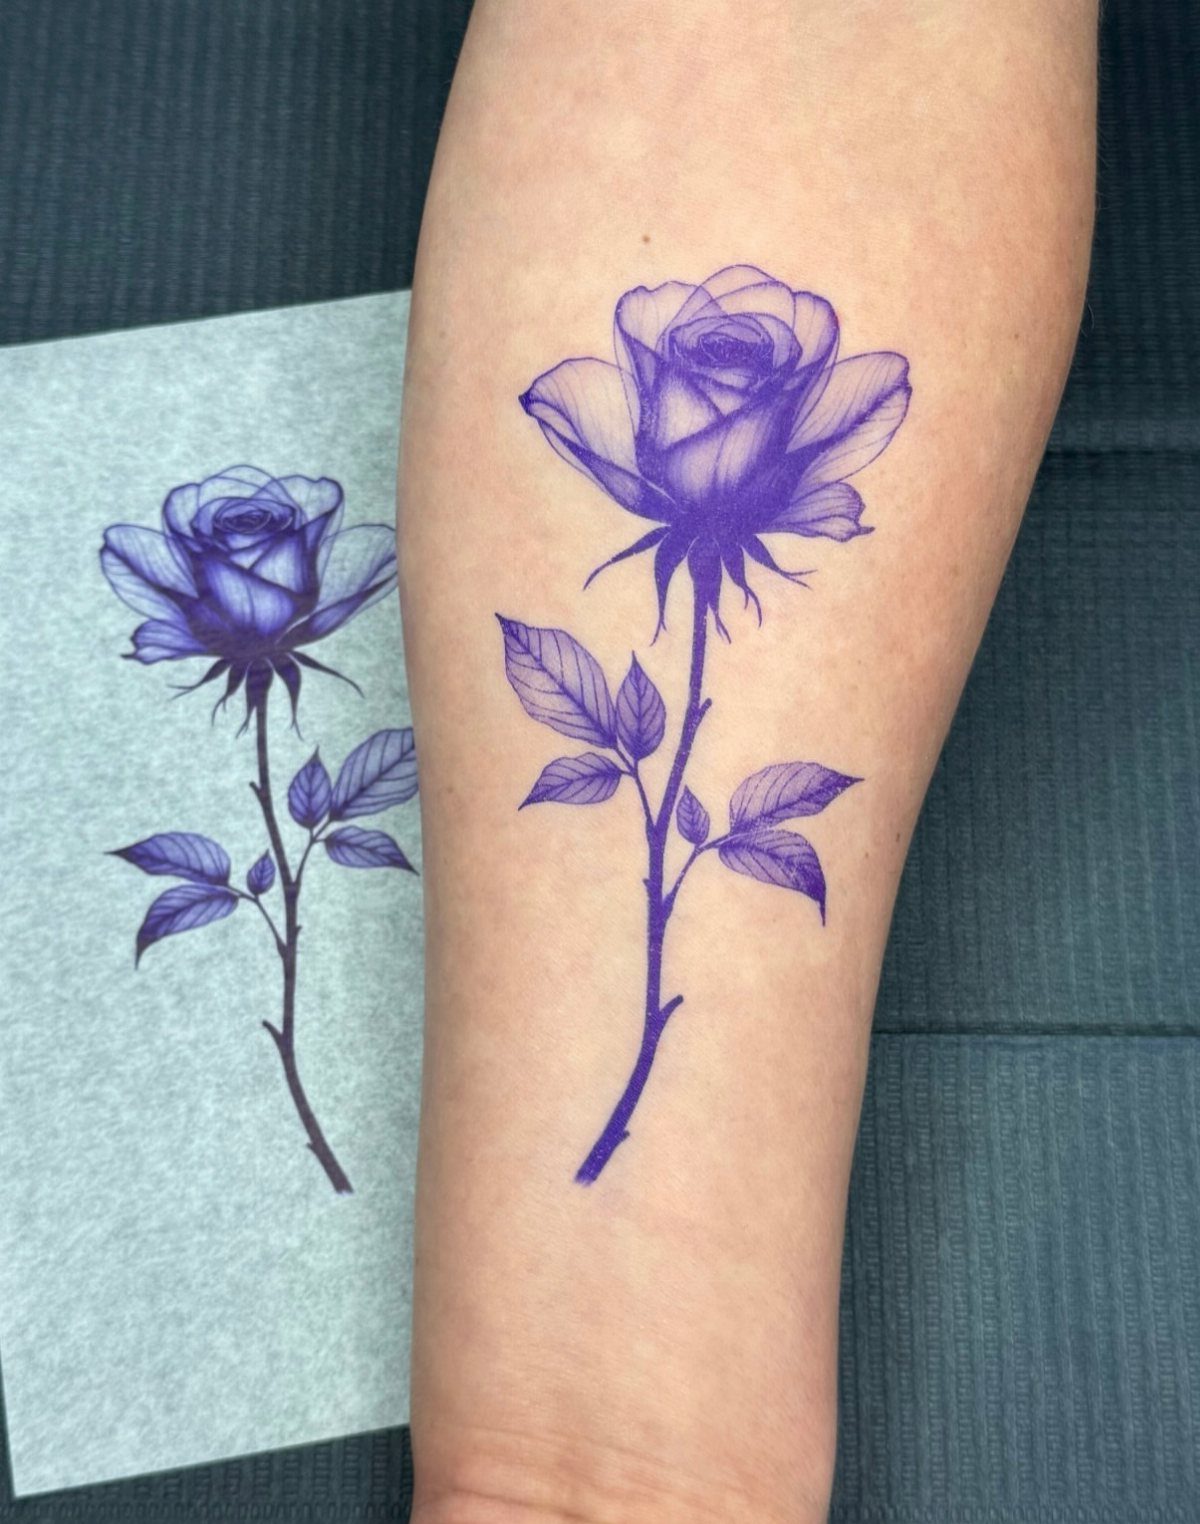
The inner forearm is softer and more sensitive than the outer side, and the skin stretches differently when you rotate your wrist.
A rose with this much shading detail works here because the surface is flat when your arm is resting palm-up, but the stencil can shift if you move before the artist starts.
I’d keep the arm still after the stencil goes on so the ink sets.
If you flex or turn your hand, the paper can crease and distort the petals. Inner forearm tattoos also fade faster in the sun, so plan to use sunscreen once it heals.
4. Full Forearm Stencil Design
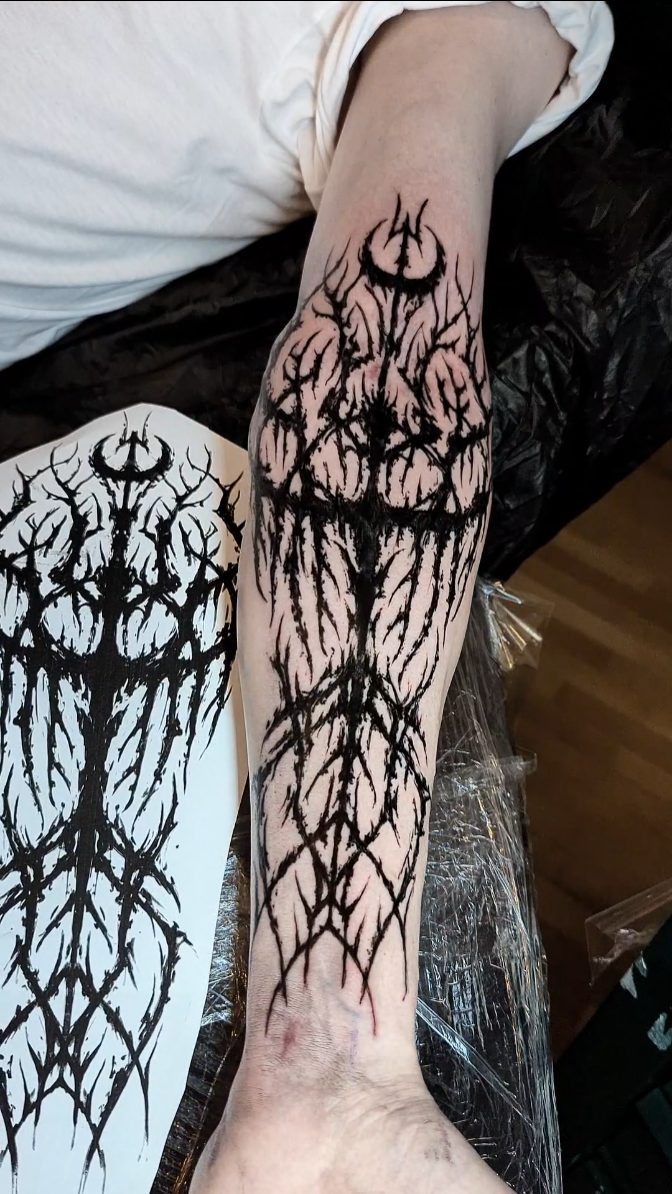
A full forearm stencil runs from wrist to elbow and has to wrap around the curve of your arm without breaking the flow of the design.
This branch pattern works because the lines follow the muscle contour instead of fighting it.
Applying a stencil this size takes longer than a small piece. The artist will usually break it into 2 or 3 overlapping sections, lining up the edges so the branches connect.
If you’re planning a sleeve later, leave space at the elbow and upper arm so the design doesn’t dead-end into another tattoo. Full forearm pieces take longer depending on detail, so budget for at least 2 sessions with heavy shading.
5. Stencils on a Hanging Arm
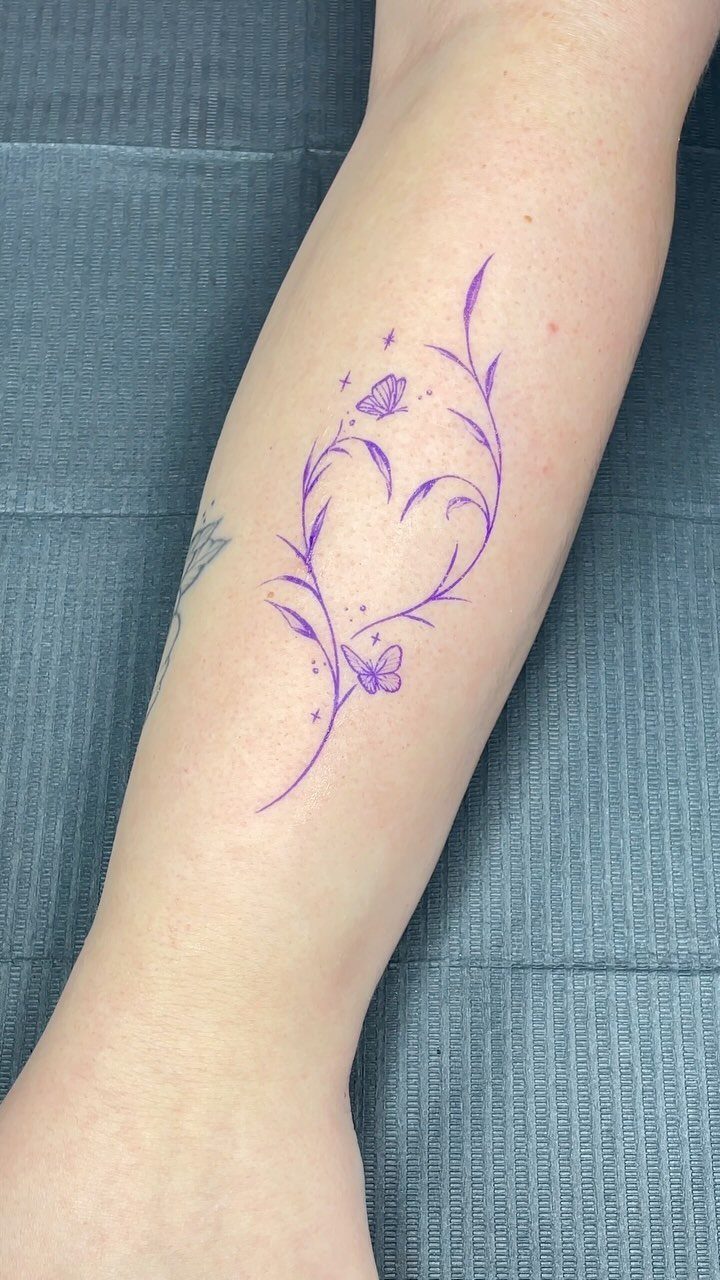
Letting your arm hang while the stencil dries keeps the skin relaxed and stops the design from warping when you move.
If you rest your arm on a table or armrest, the pressure can shift the stencil before the ink sets.
This floral piece with butterflies covers the inner forearm, where the skin is thinner and the stencil is more likely to smudge if you touch it.
I’d hang my arm after the artist applies it, then check the edges before they start tattooing. If any part of the stencil looks blurry, ask them to wipe it and reapply that section.
6. Cherub Trio Paper Stencil
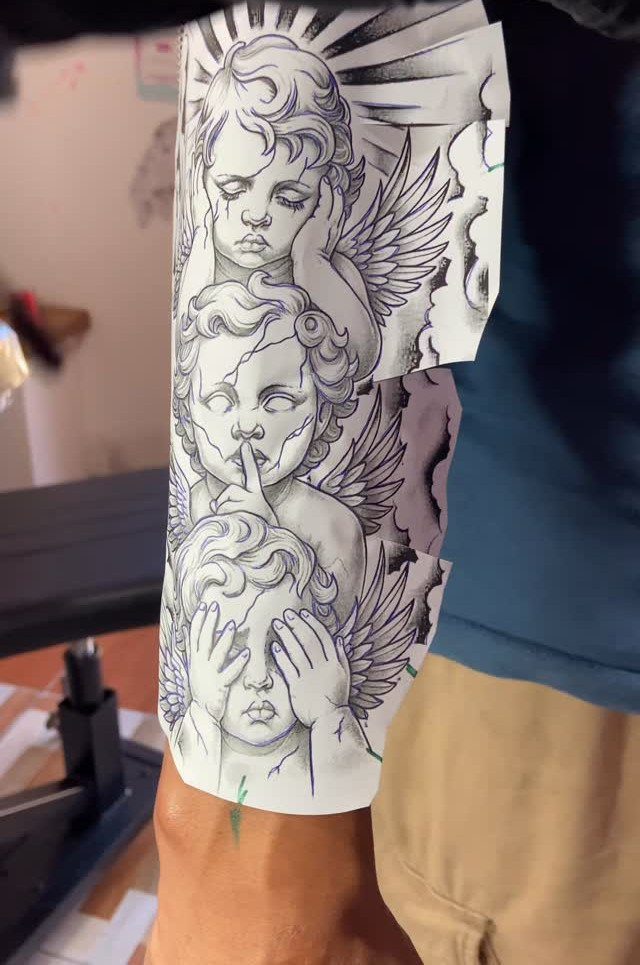
The cherubs here align with the older tattoo so the artist can plan spacing and avoid covering detail worth keeping.
If you’re adding to an old tattoo, bring a printed stencil to your consultation so the artist can test different placements before committing. Some designs need the paper trimmed so it sits flush against your skin without bubbling.
Once the stencil is on, take a photo from a few angles so you can see how it looks when your arm is hanging naturally, not just while it’s resting flat.
7. Lion Head Stencil and Tattoo
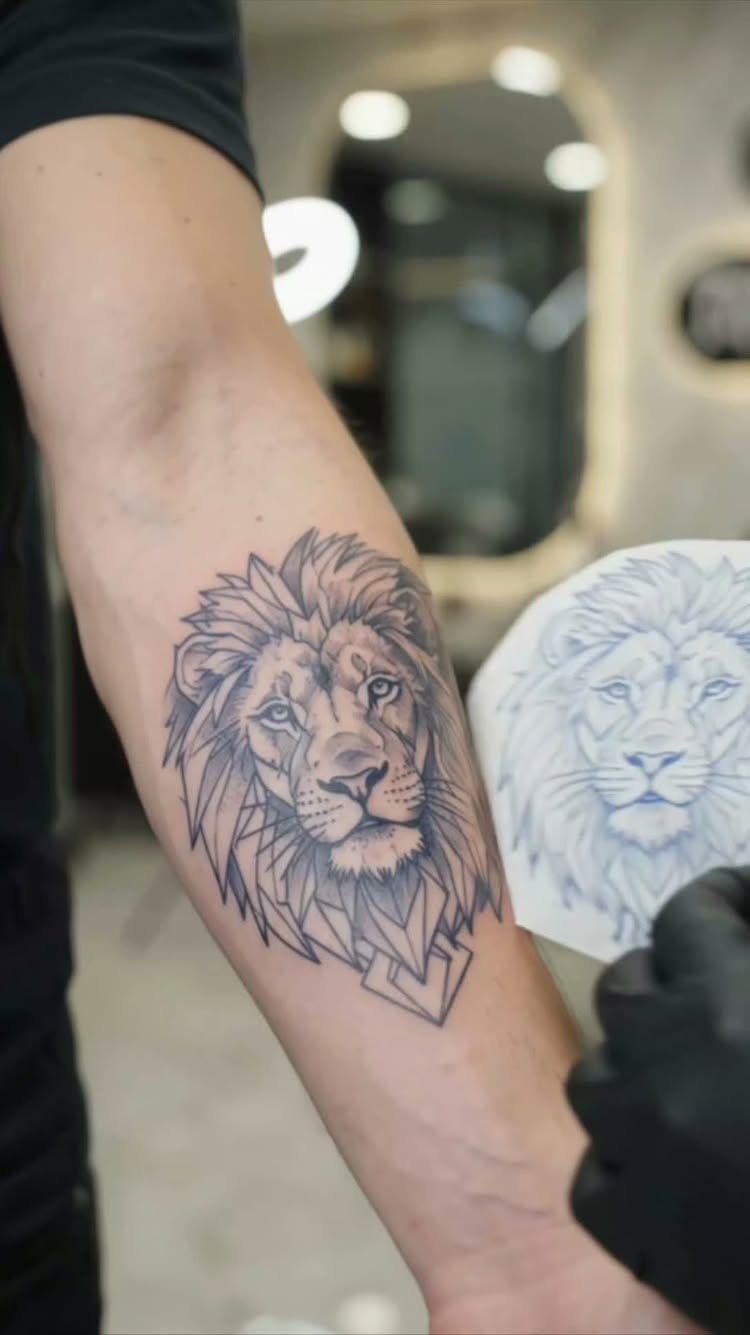
A lion head with this much detail in the mane and shading needs a clean transfer, so check that every line comes through before the artist starts.
If you’re unsure about how a design will translate to skin, ask your artist to keep the stencil after the session so you can compare the final result.
Some designs look sharper on paper than they do on the forearm because the skin texture softens fine lines.
8. Floral Transfer Stencil Application
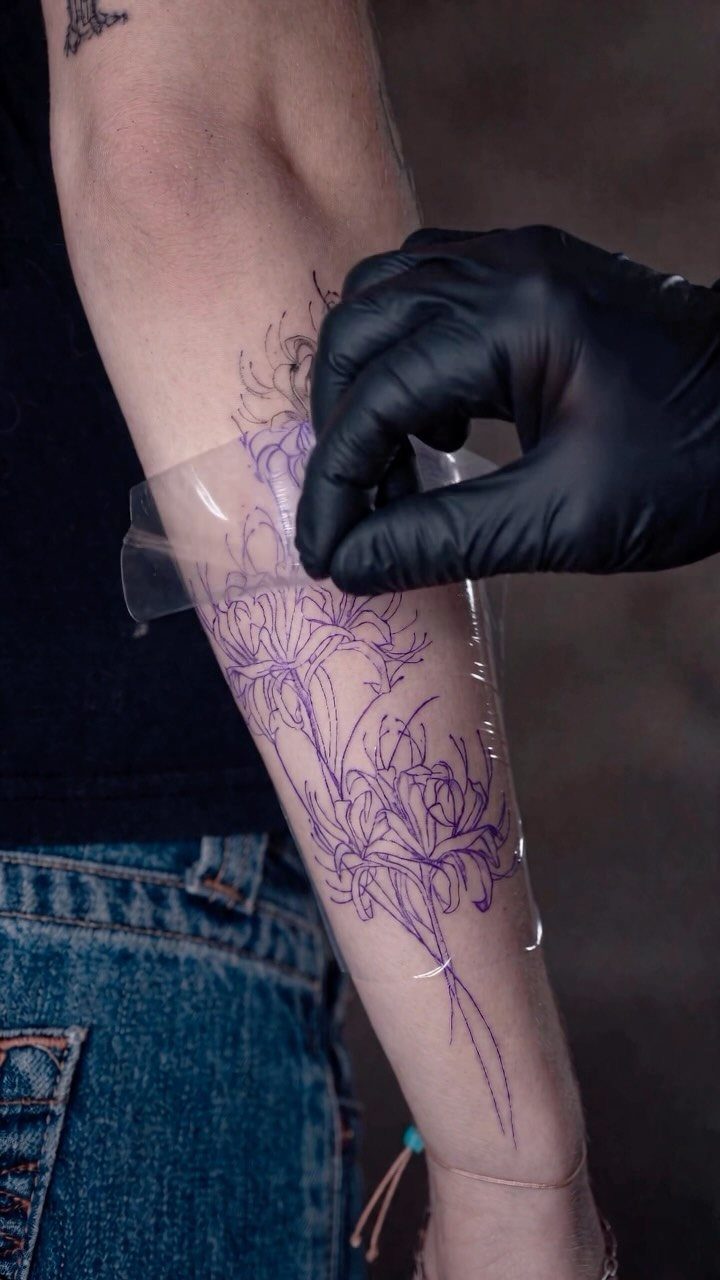
Purple transfer ink shows up clearly on most skin tones and wipes off easily if the placement needs adjusting.
Floral designs with thin stems and overlapping petals need firm, even pressure across the entire stencil so no part of the pattern lifts before the ink sets.
If the glove drags while you press, the stencil can smudge.
I’d hold the paper steady with one hand and smooth it down with the other, working from the center outward to push out any air bubbles. Once it’s on, leave it alone for at least a minute before peeling.
9. Butterfly and Moon Adhesive Stencil
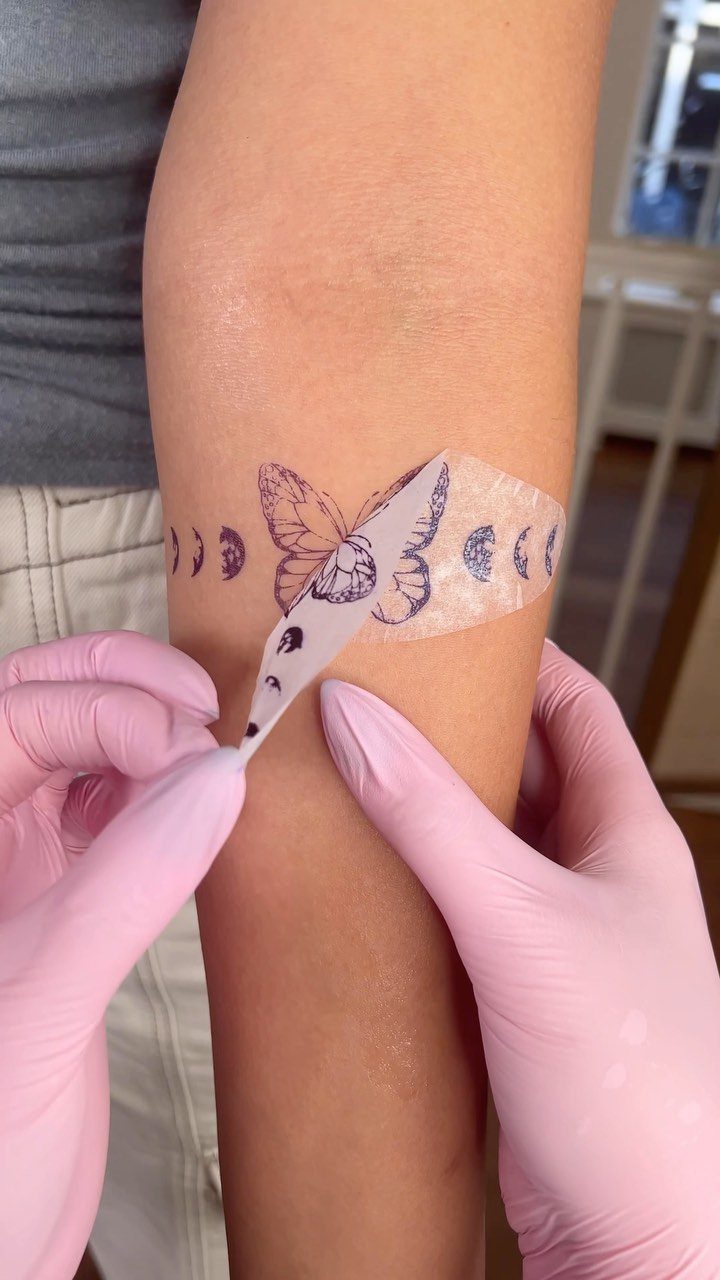
Adhesive stencils peel away cleanly and leave the purple outline intact, which matters when the design has small gaps between elements like moon phases.
If the stencil tears while you’re peeling it, the ink can smudge and you’ll have to wipe it off and start over.
Peel slowly from one corner and keep the stencil flat against your arm as you pull. The butterfly wings and crescents need sharp edges to read well once the tattoo is done.