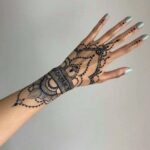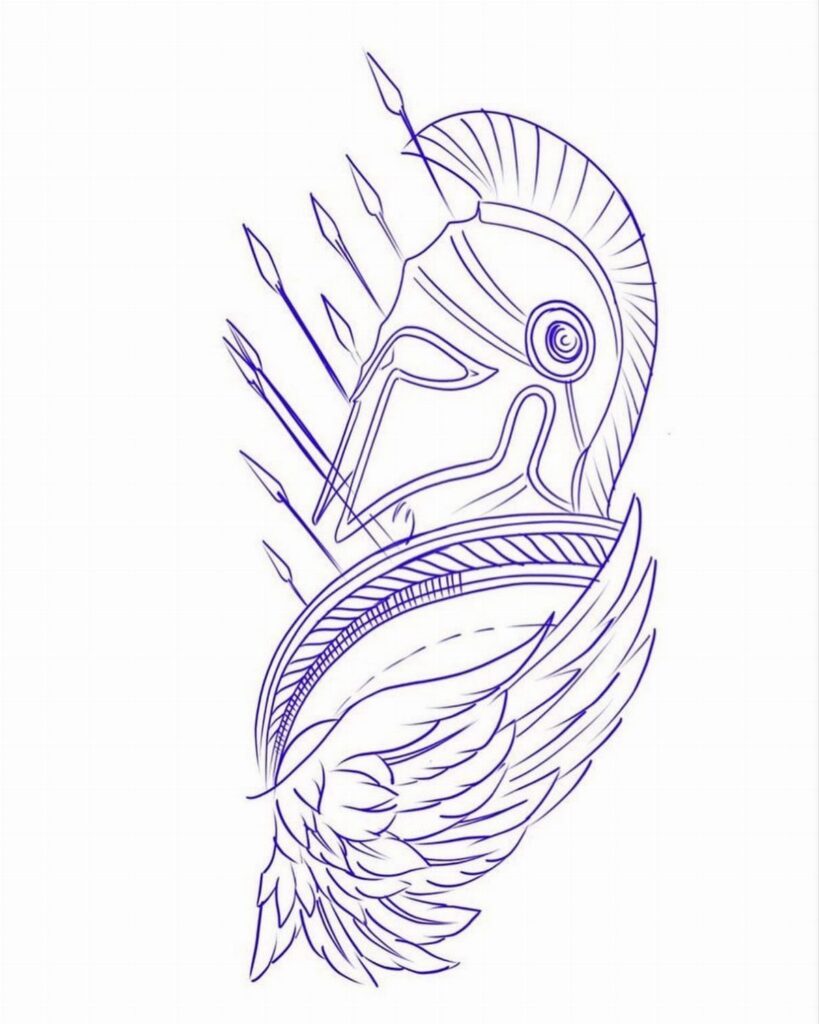
Traditional stencils start with free printable outlines on plain paper, traced pencil designs, and purple transfer lines applied directly to skin, then move through flash sheet layouts and the materials and practice techniques artists rely on.
1. Free Traditional Tattoo Stencils on Plain Paper
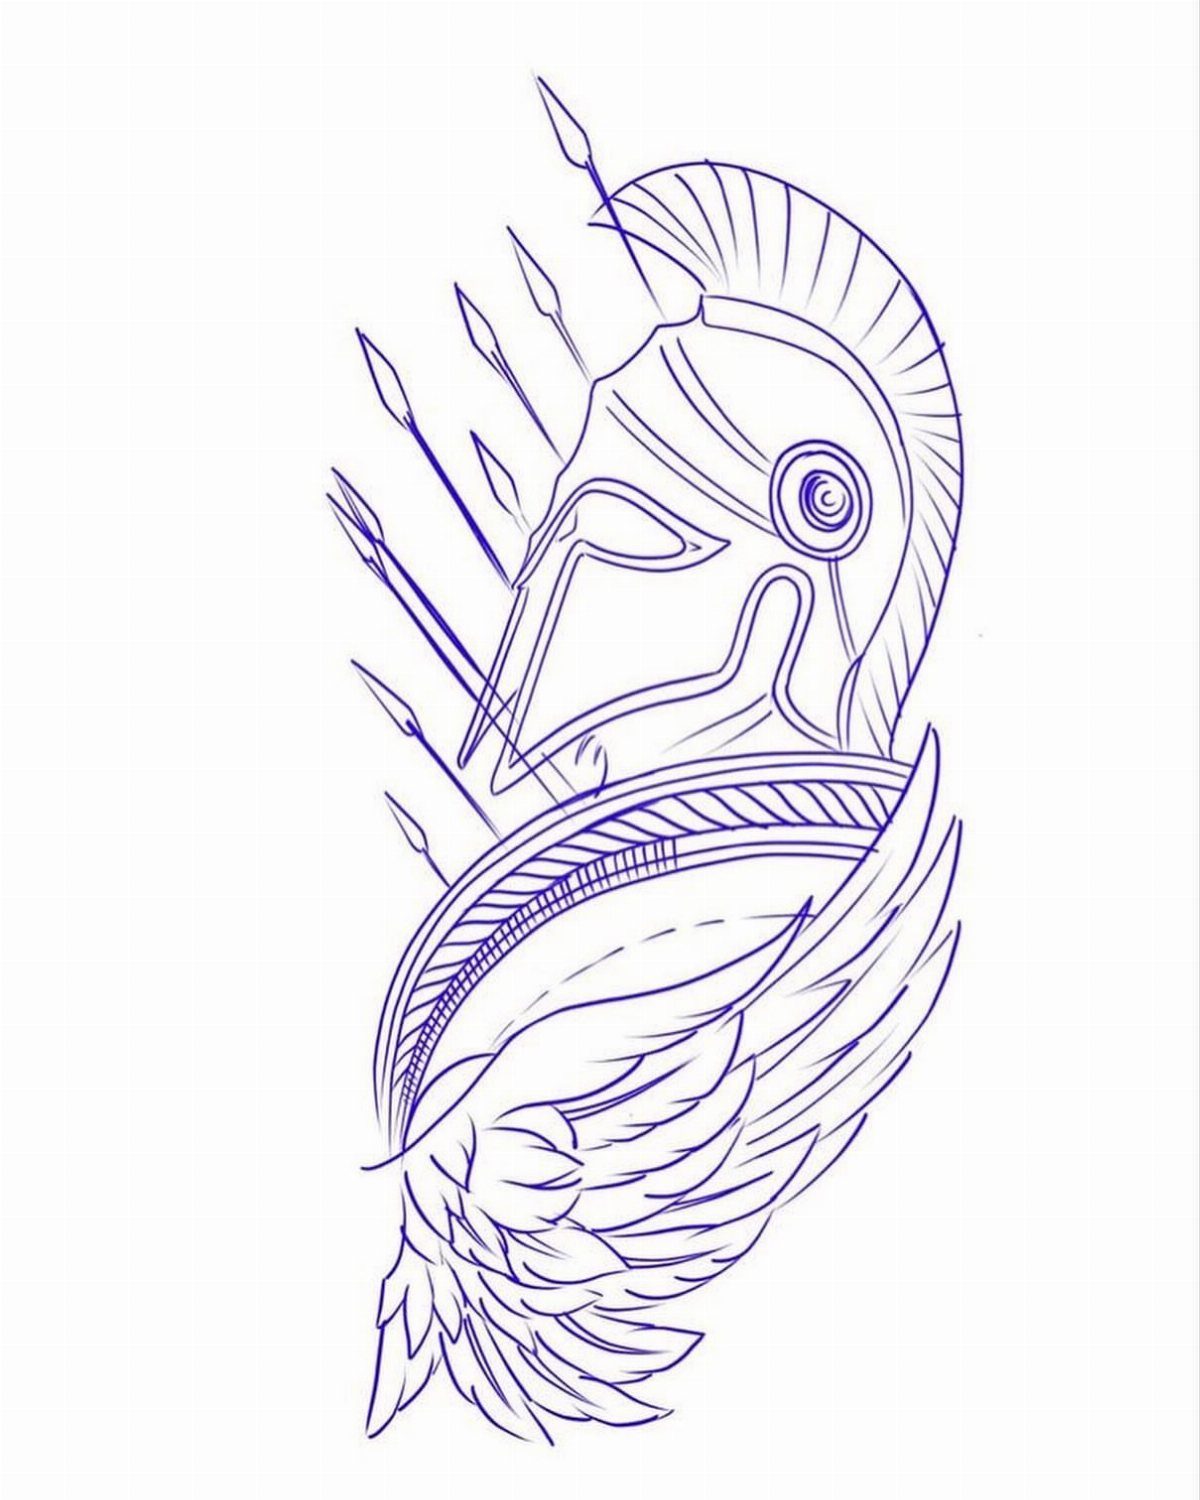
Free stencils printed on plain paper give you clean outlines to practice tracing, transfer or placement before the needle touches skin. Bold black or blue line work with no shading lets you see exactly where the edges sit.
Print a few copies if you’re practicing hand placement or working on transfer technique.
Plain paper works with most thermal copiers and carbon transfer sheets, and when you’re learning stencil application, having extras means you can try again without hunting for a new design.
2. Traditional Tattoo Designs
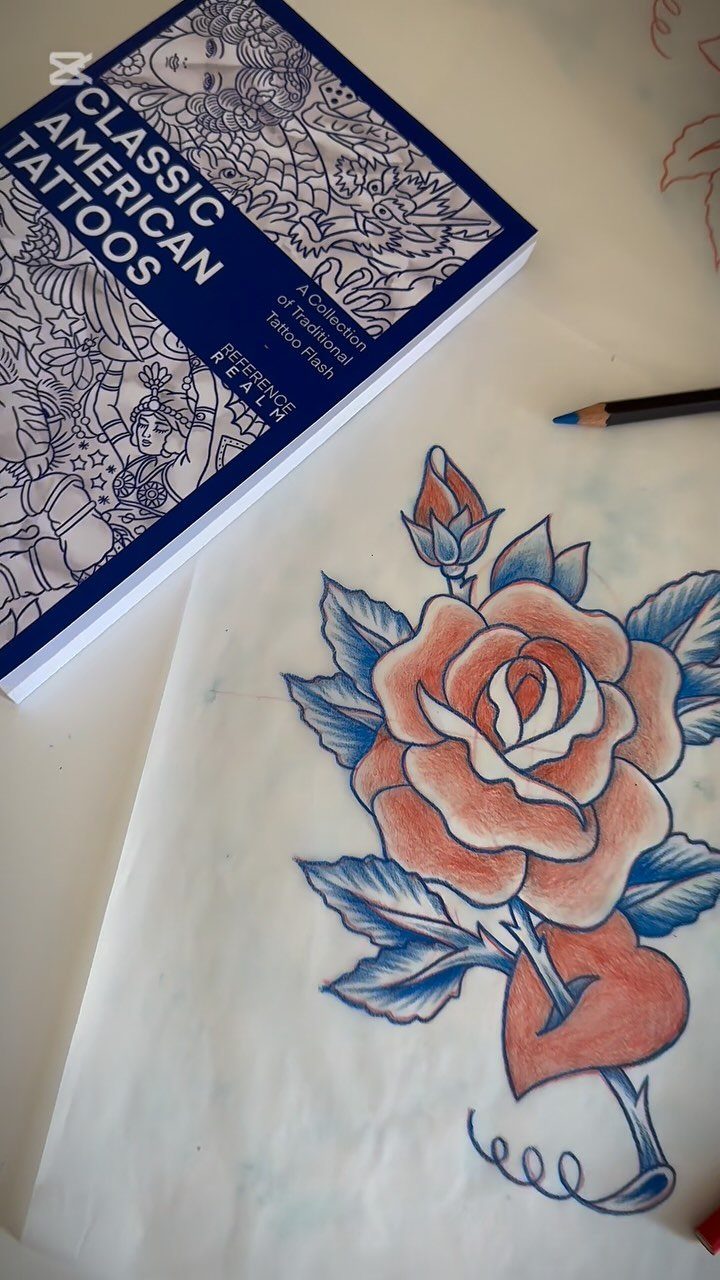
Classic motifs like roses, hearts, daggers and skulls give you instantly recognizable shapes with bold black outlines and limited color fills.
The red rose and heart here show the hallmarks: thick borders, simple shading and flat color areas that read clearly at any size.
These designs work well for beginners because the shapes are forgiving.
A slightly wobbly line still looks intentional when the whole piece leans into that traditional, hand-drawn aesthetic. Start with a single-color design before you add reds, greens or yellows.
There’s a long-standing tradition in tattoo culture of celebrating that which others fear (hence the thematic prevalence of things like skulls and knives). Sailor Jerry’s Lucky 13 motif is probably the most famous set of tattoo designs that flip a bad luck symbol on its head.
3. Trace Stencil Designs with a Pencil
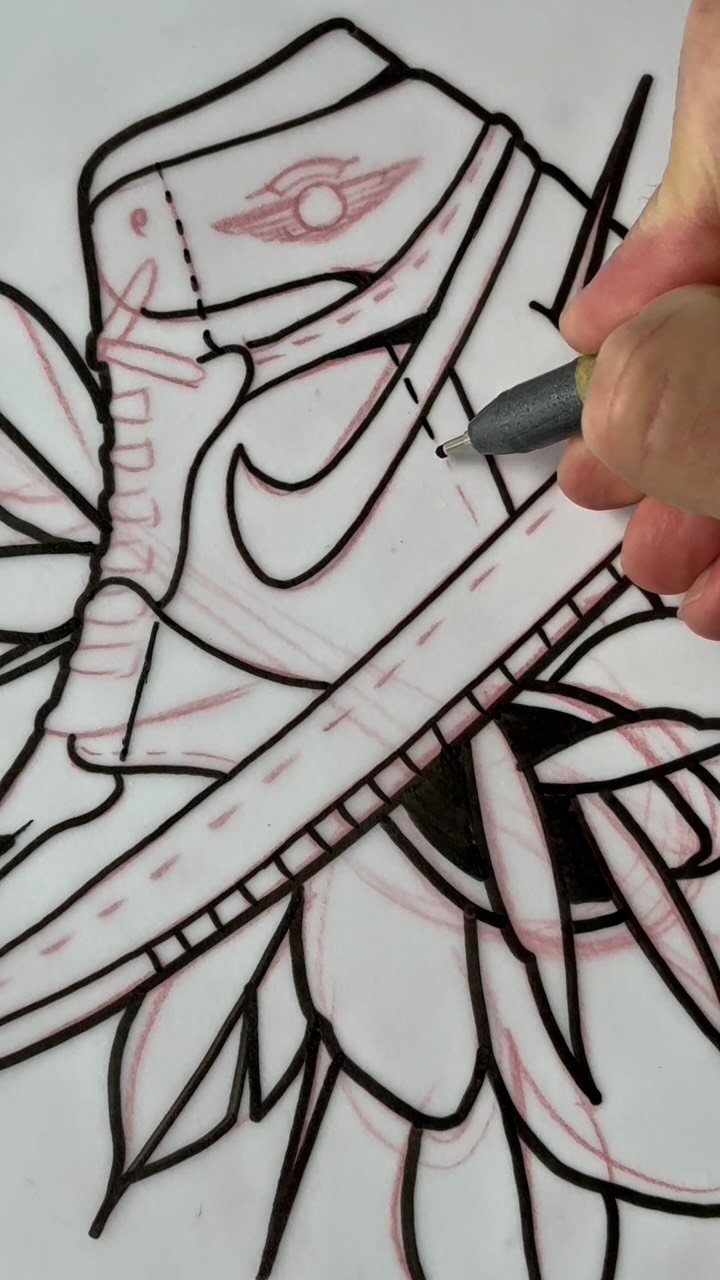
Tracing a stencil by hand with a pencil builds the muscle memory you need to control line weight and follow curves smoothly.
Place tracing paper over the original, then go over the black outlines with a pencil or fine liner until the shape is clean.
This method slows you down in a good way.
You learn where a design needs thicker outlines, where details cluster, and where your hand wants to rush. Practice on simple shapes first, then move to pieces with more curves or tight spacing.
4. Tattoo Stencils Transferred to Skin
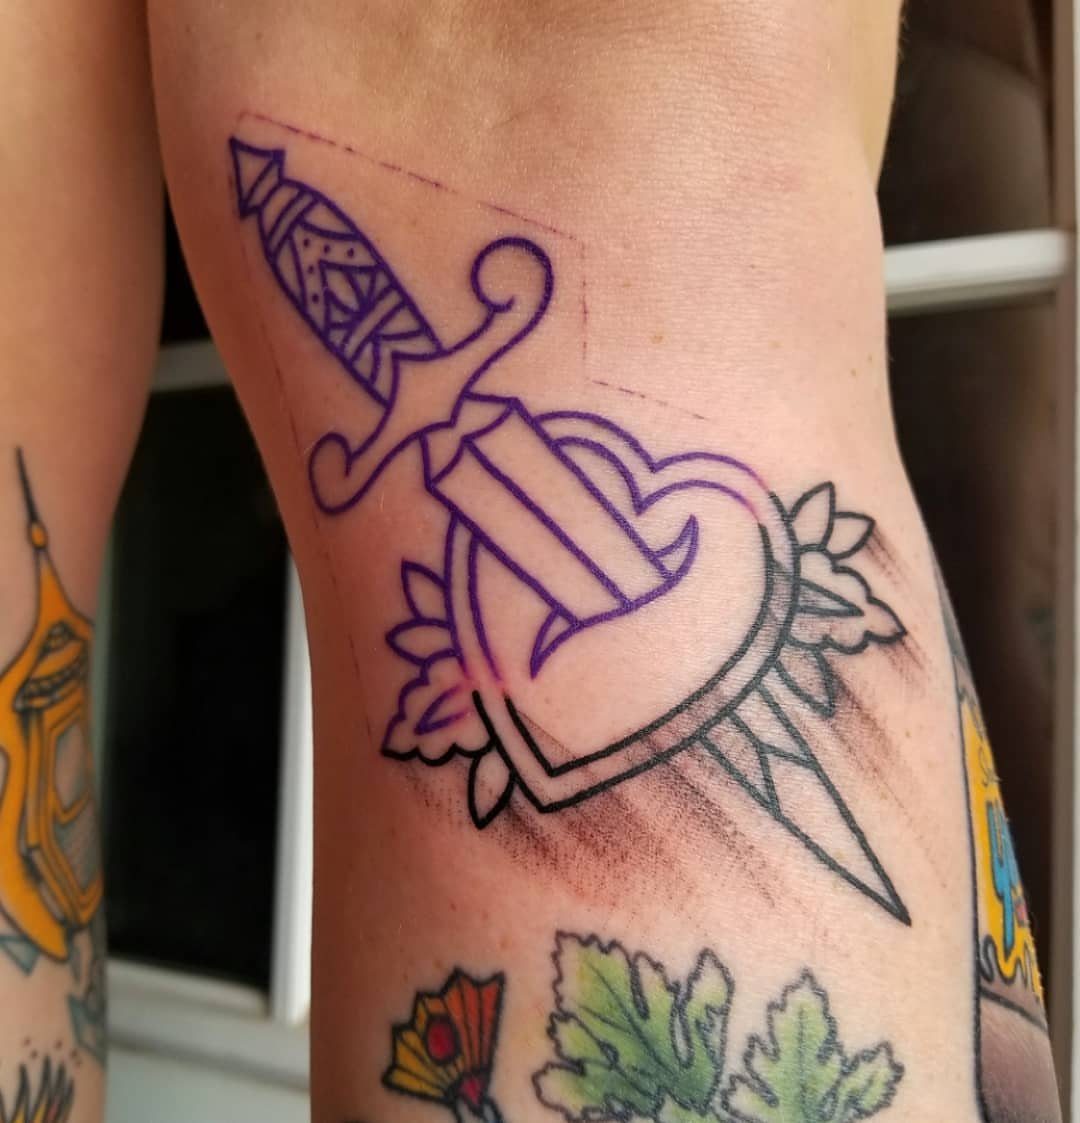
A purple stencil transferred onto skin gives you the exact outline you’ll follow with the machine. Clean purple lines sit on the surface and won’t smudge if you wipe gently.
Most artists use thermal copier paper or carbon transfer sheets to move the design from paper to skin.
The purple ink washes off after the session, but while you’re working, it shows exactly where each line needs to go. Apply it to clean, dry skin and let it dry for a few minutes before you start.
5. Flash Sheet Stencil Layouts
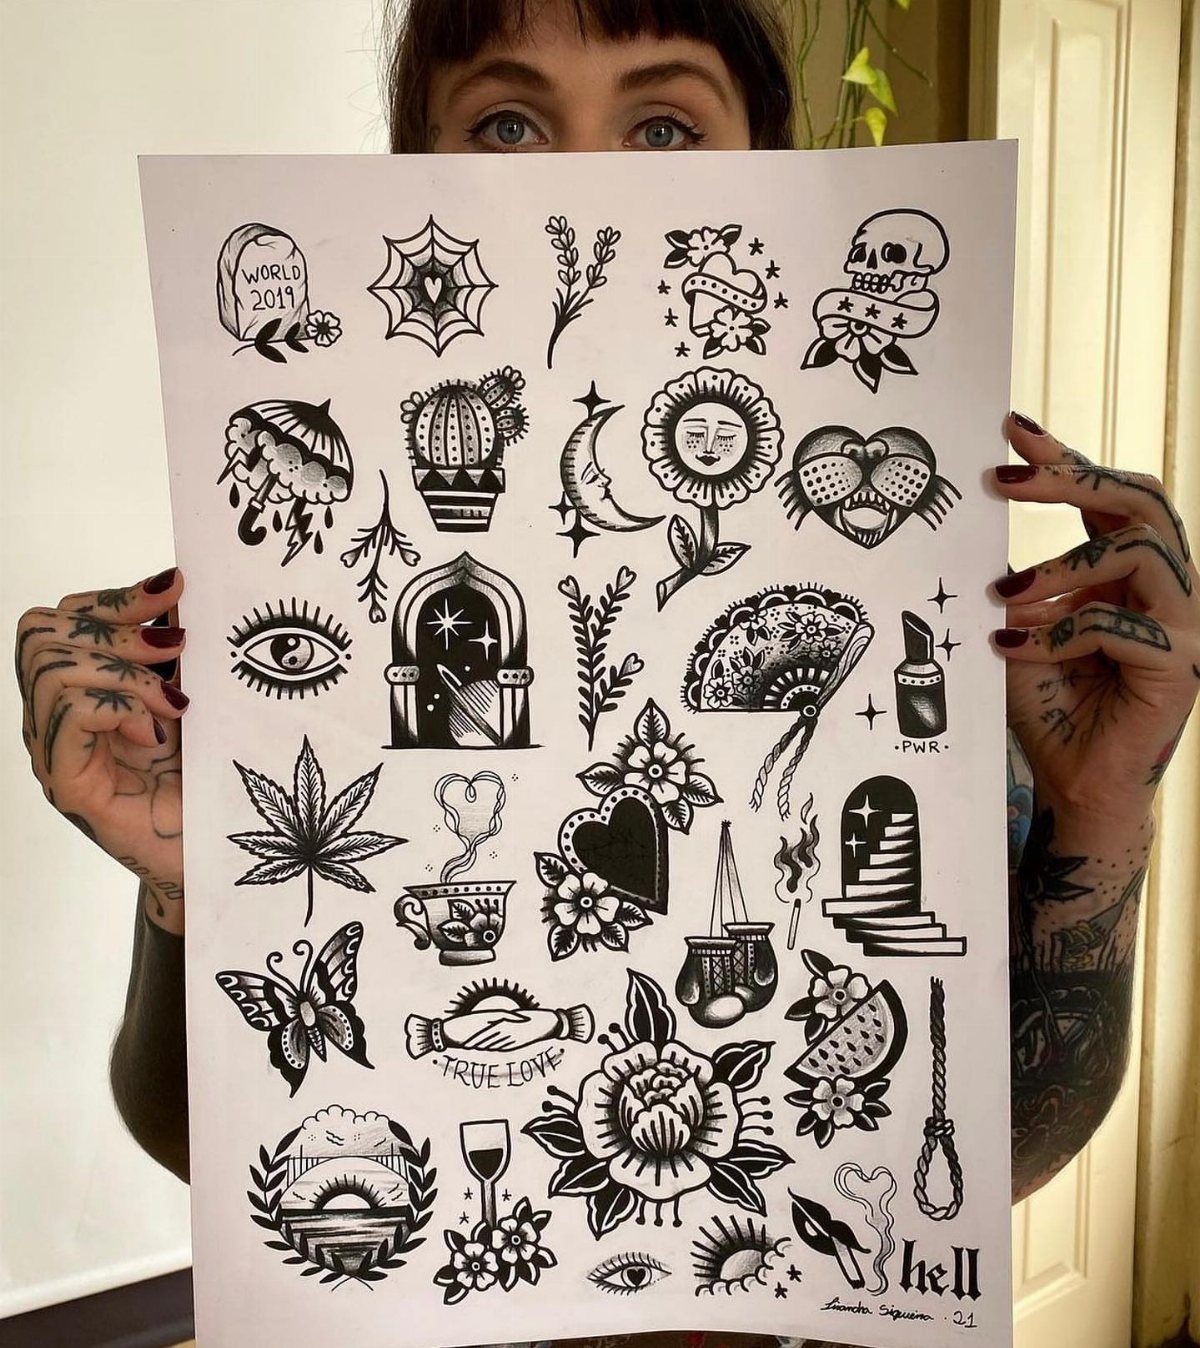
A flash sheet collects multiple stencil outlines on a single page, so you can offer several designs at once or practice different motifs in one session.
The sheet here includes script, icons and traditional images, all sized to fit common placements like forearms, shoulders or calves.
Flash sheets save time when you’re practicing on fake skin or building a portfolio.
Print one, cut out the design you want, then transfer it the same way you would a single stencil. Keep a few sheets on hand and you’ll always have a design ready to go.
Practice Techniques for Tattooing
Linework alone teaches you speed control and how much pressure the machine needs before shading adds another variable. Practice on fake skin until your hand stops fighting the weight of the machine and every curve comes out smooth.
Save those lined sheets. Once your outlines feel clean, go back over the same designs with shading and color.
You’ll see how the piece holds up when you add gray wash or solid fills, and whether your lines were thick enough to contain the color without bleeding.
A stick of cheap deodorant doubles as primer when you’re working on synthetic skin.
Spread a light coat, press the stencil flat, then lift from a corner to check for air pockets before you pull the whole thing free. Real skin needs actual stencil primer, but for practice runs, deodorant does the job.
Materials for Tattoo Stencils
Laser printers handle stencil paper better than inkjet models. The toner bonds cleanly and won’t smudge when you apply transfer fluid or run the sheet through a thermal copier.
Print a design as a PDF, apply your transfer medium, and the lines will pull clearly onto fake skin. Save the expensive thermal sheets for client work.
Quality fake skin lets you test your setup without the pressure of a real session.
Cheap sheets tear easily or won’t hold stencil ink, and that wastes practice time. Spend a little more per sheet and you’ll get consistent results that actually show you where your technique needs work.