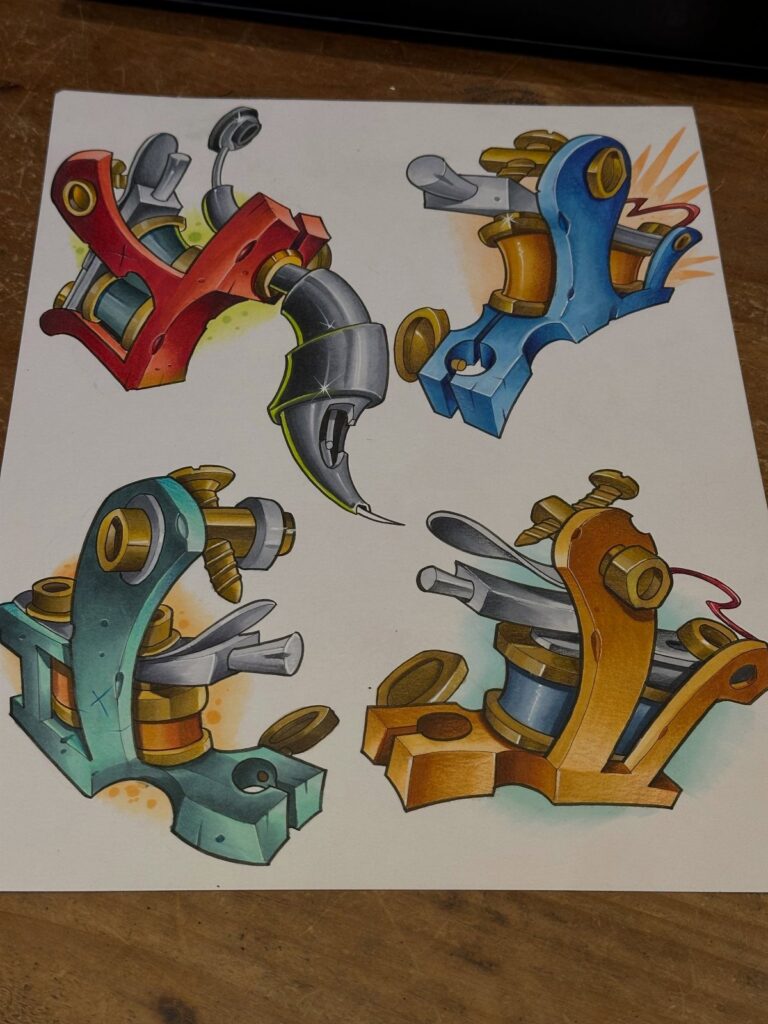
The simplest sketch is a side-view coil machine with its twin posts and crossbar, while a rotary pen gives you a sleeker cylinder to work with.
Choose based on how much you want to draw: if you prefer mechanical shapes alone, the traditional coil or rotary pen gives you clean cylinders and right angles; if you want to show movement or symbolism, pair the machine with flames, wings, a skull, or a devil gripping the grip.
Several of the drawings here layer watercolor washes or marker over linework, and the devil piece works as flat graphic art you can paint on wood or canvas.
1. Traditional Tattoo Machine Drawing
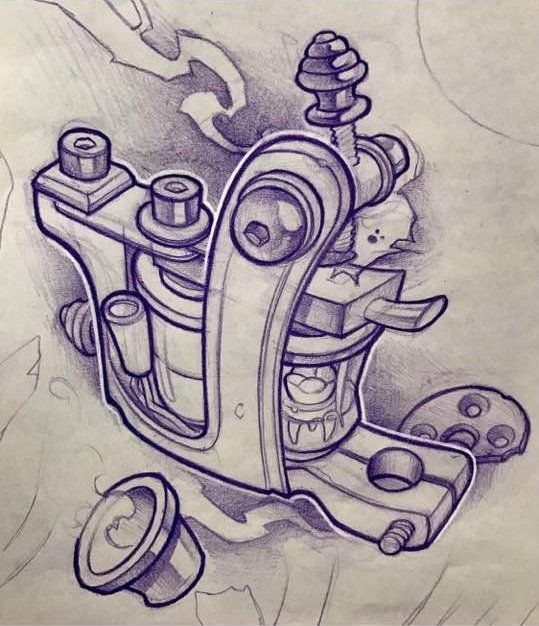
The classic coil setup, with its twin vertical posts and the crossbar connecting them, gives you the mechanical heart of every traditional tattoo machine.
I like starting here because those cylinders and springs translate cleanly into simple shapes: rectangles for the coils, circles for the armature bar pivot, and a tapered tube for the grip.
Shade the front coil darker than the back one to give the drawing depth, and add a few highlight lines along the metal edges where light would catch.
Once you map out the proportions, the rest is just adding the smaller bolts and contact points.
2. Rotary Pen Tattoo Machine Drawing
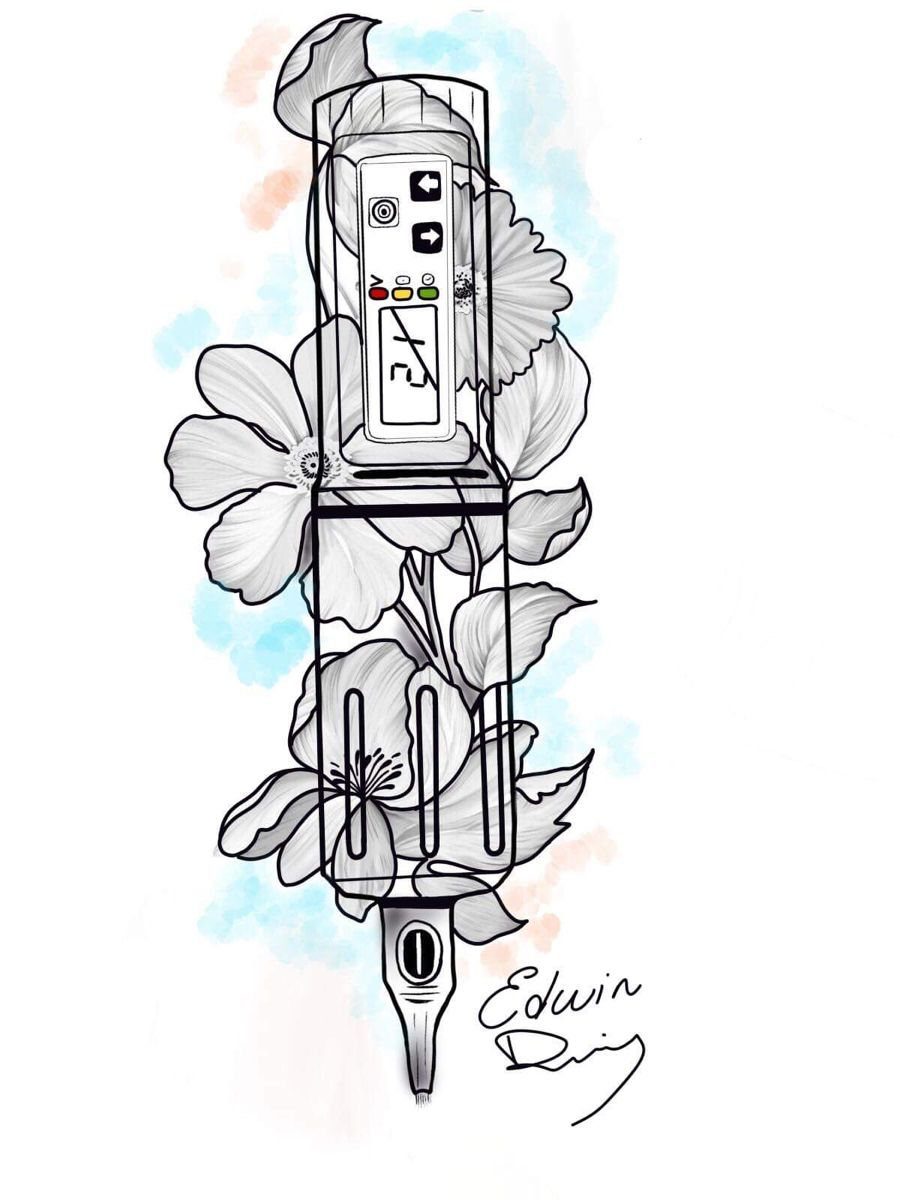
A rotary pen sits in one smooth line from motor to needle, and that streamlined profile makes it easier to draw than a coil machine with all its exposed parts.
The body is mostly a narrow cylinder, sometimes with a slight taper, and the grip section extends straight down.
Flowers soften the mechanical look and fill space around the machine without crowding it.
Watercolor washes behind the linework keep the focus on the drawing itself while adding a loose, finished feel. If you are sketching this for the first time, the pen shape means fewer angles to get right.
3. Tattoo Machine with Roses
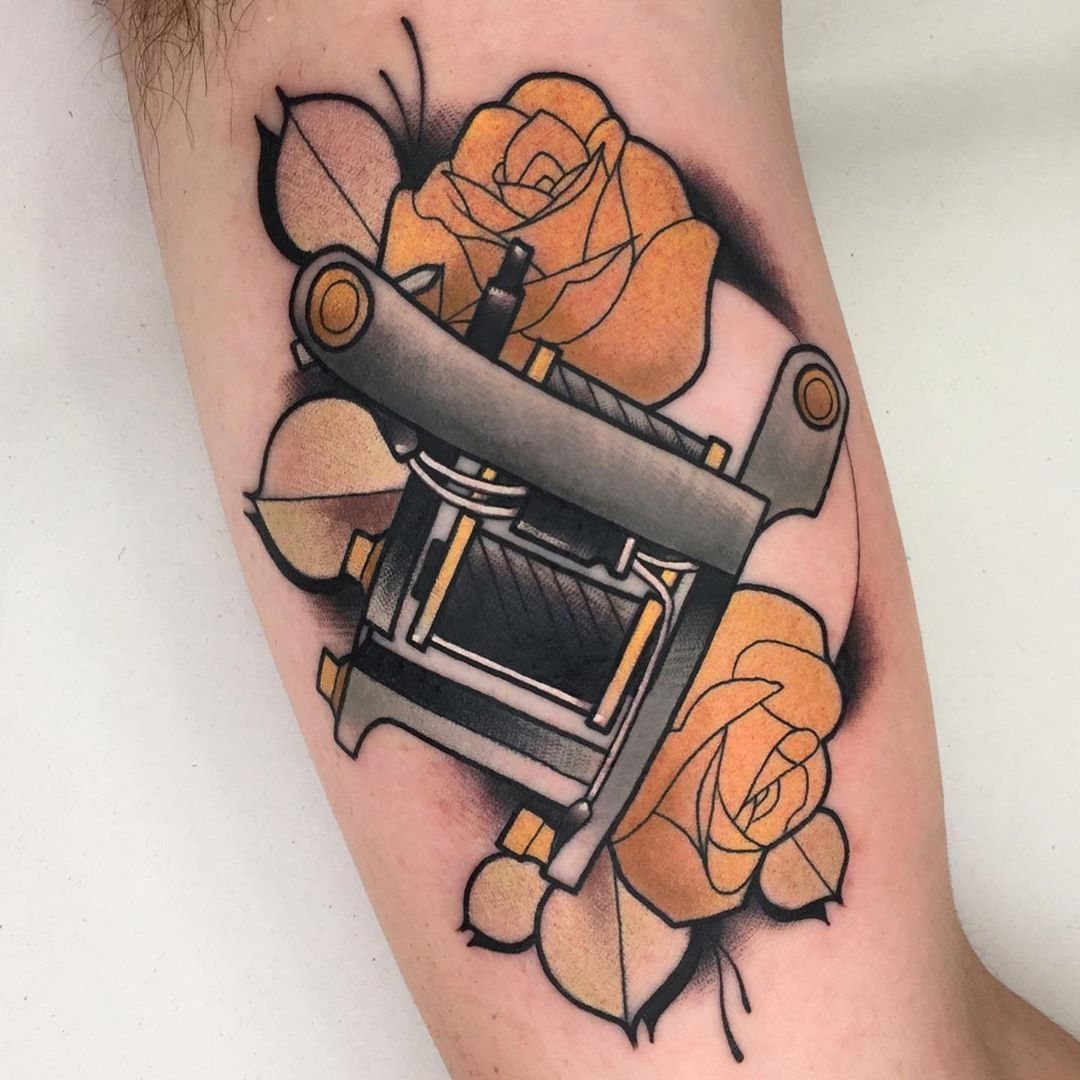
Roses frame the machine and turn a technical object into something you could actually wear.
I place the blooms at the top and bottom so the machine stays recognizable in the center, and yellow petals with black shading give the piece contrast without going full color everywhere.
The stems can wrap around the grip or needle bar to tie the elements together.
This combination works well on the forearm or upper arm, where you have enough width for the flowers to open fully. Keep the roses large enough that each petal reads clearly, or the whole thing collapses into a busy blur.
4. Tattoo Machine with Wings
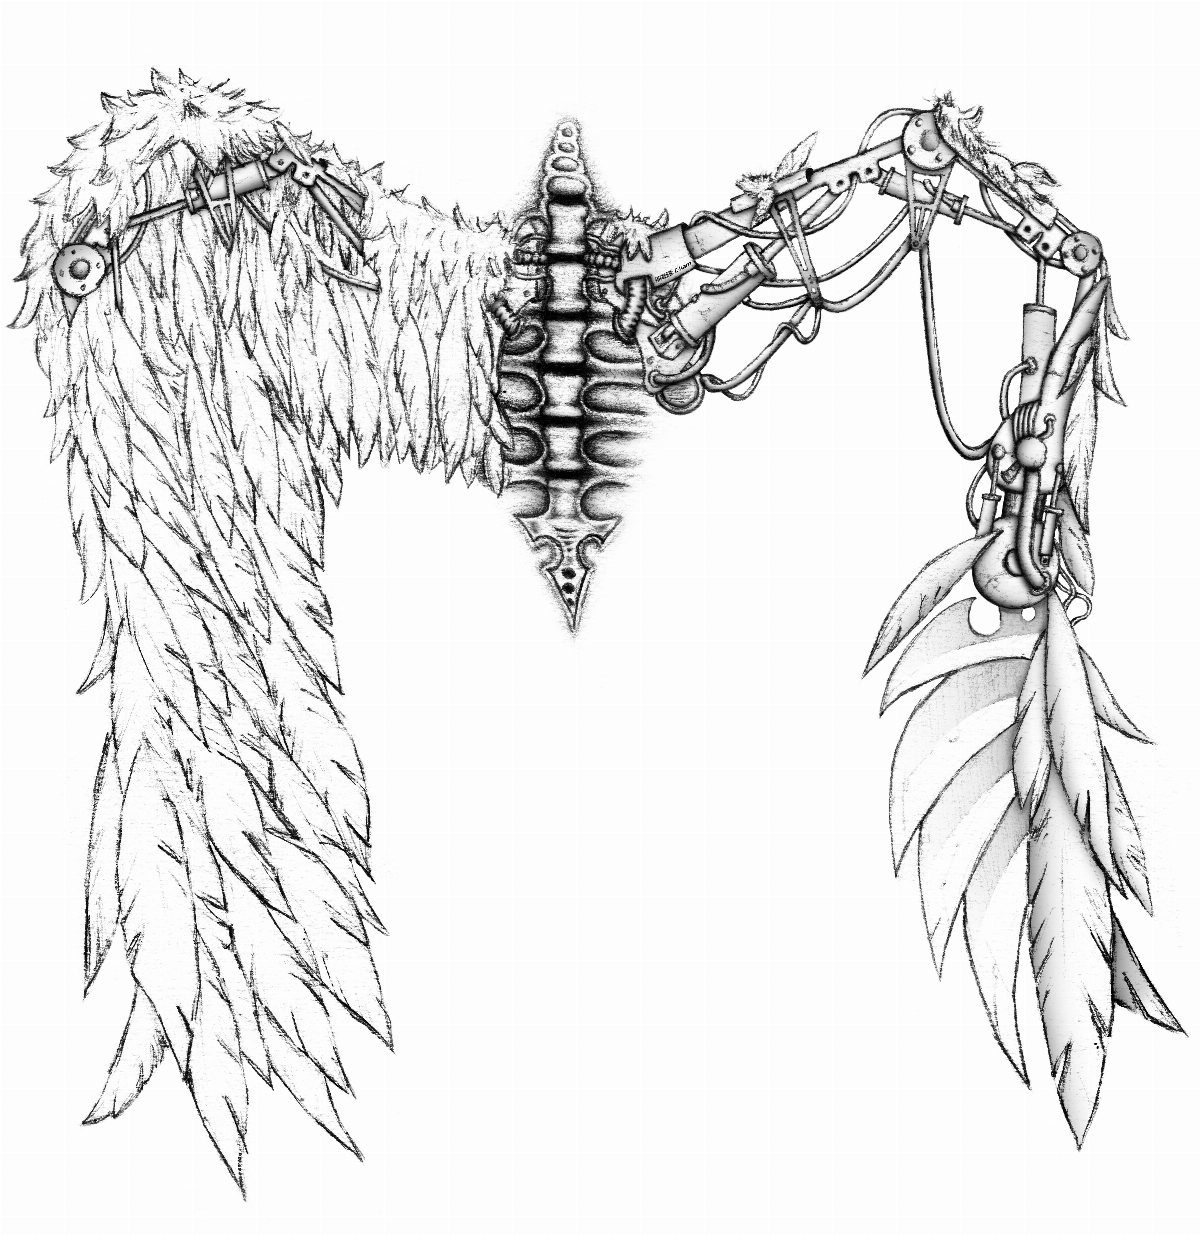
Split the design down the middle: machine parts on one side, feathers on the other, with a central spine holding both halves together.
The machine half keeps its coils and armature bar intact, and the wing side shows individual feathers radiating out from the central shaft.
I like the asymmetry here because it gives you 2 textures to practice: hard edges on the machine, soft transitions in the feathers.
The spine can be drawn as a simple curve or detailed with vertebrae if you want to push the anatomy. This idea works as a chest piece or back tattoo, where the wings can spread wide.
5. Tattoo Machine and Skull
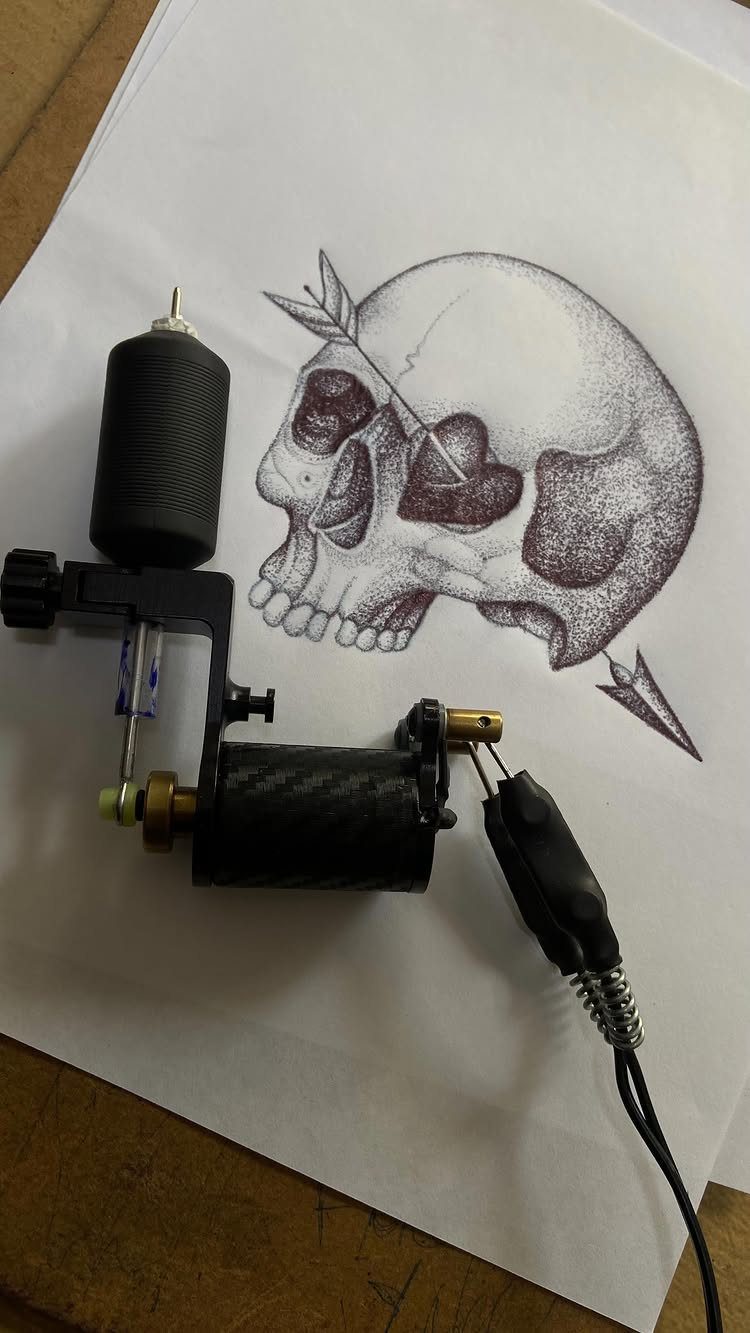
Pairing a machine with a skull immediately signals the tattooing life, and the stippled technique in the visible drawing shows you can build tone with dots instead of line shading.
The arrow through the skull adds a second diagonal that balances the vertical line of the machine.
I position the machine at an angle so it overlaps part of the skull, which keeps the composition tight and avoids 2 separate objects floating on the page.
If you are working in black ink, stippling takes longer but reads well even at smaller sizes. The gothic edge here suits flash sheets or sleeve filler.
6. Tattoo Machine with Flames
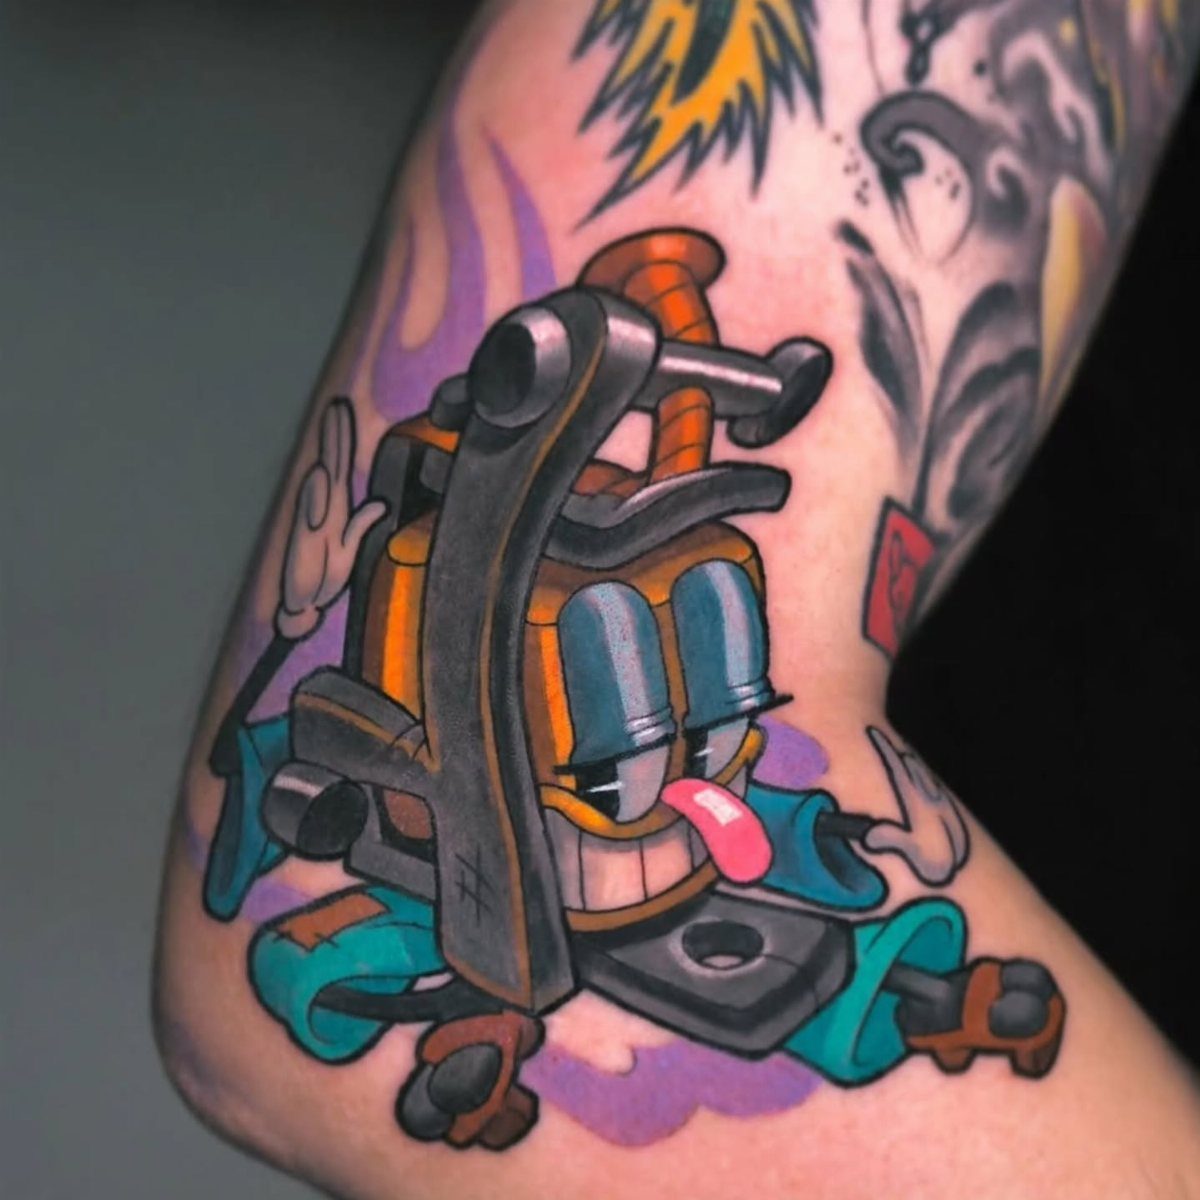
Flames around a machine suggest motion and heat, and the cartoon style with a face and tongue makes the design playful instead of purely technical. Orange flames add warmth and contrast against the black body of the machine.
The flames should curl and taper so they look like they are moving, not just sitting there as decorative shapes.
I keep the machine simple when the flames are busy, so the viewer can still tell what the object is. This version works well as a small flash piece or sticker design.
7. Tattoo Machine with Lightning Bolt
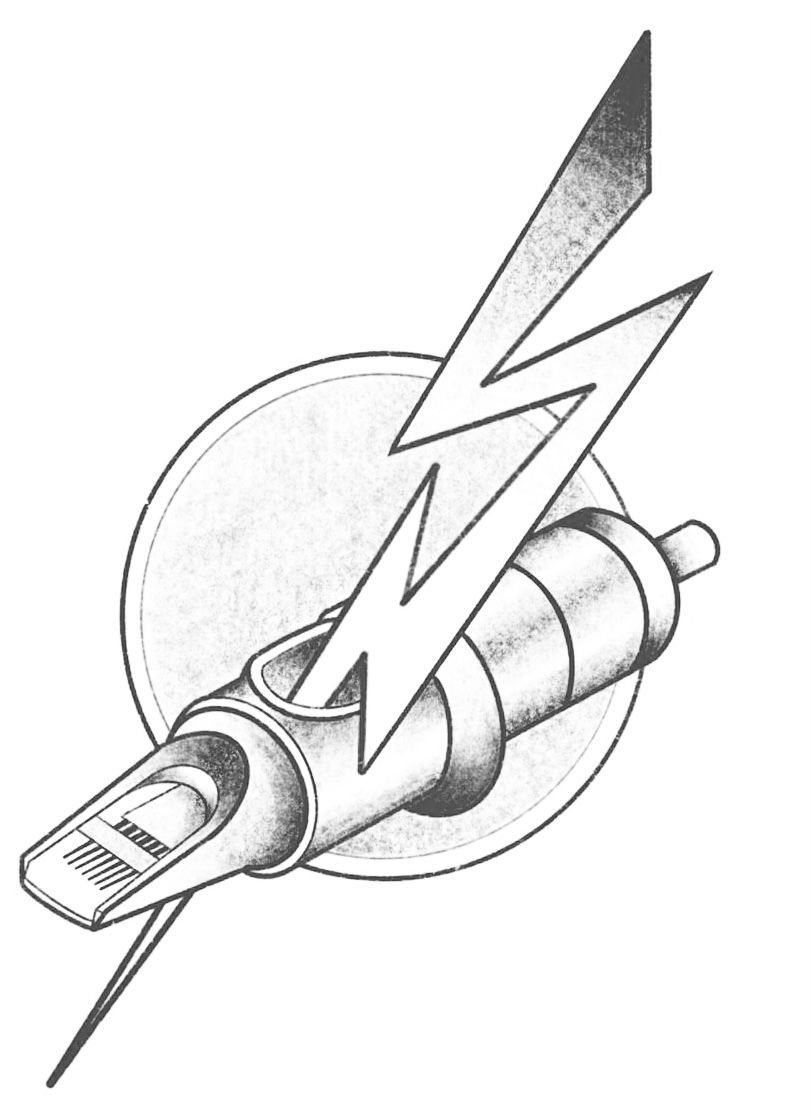
A single bolt cutting through the machine ties electricity to the act of tattooing, and the circular frame behind it gives the composition a finished edge without adding more objects.
The bolt can run straight down through the coils or at an angle across the grip, whichever line feels stronger to you.
Black and white linework keeps this one quick to draw and easy to read at any size.
If you want more contrast, thicken the bolt so it stands out against the machine body, or add a few smaller spark lines radiating from the strike point.
8. Hand Holding Tattoo Machine
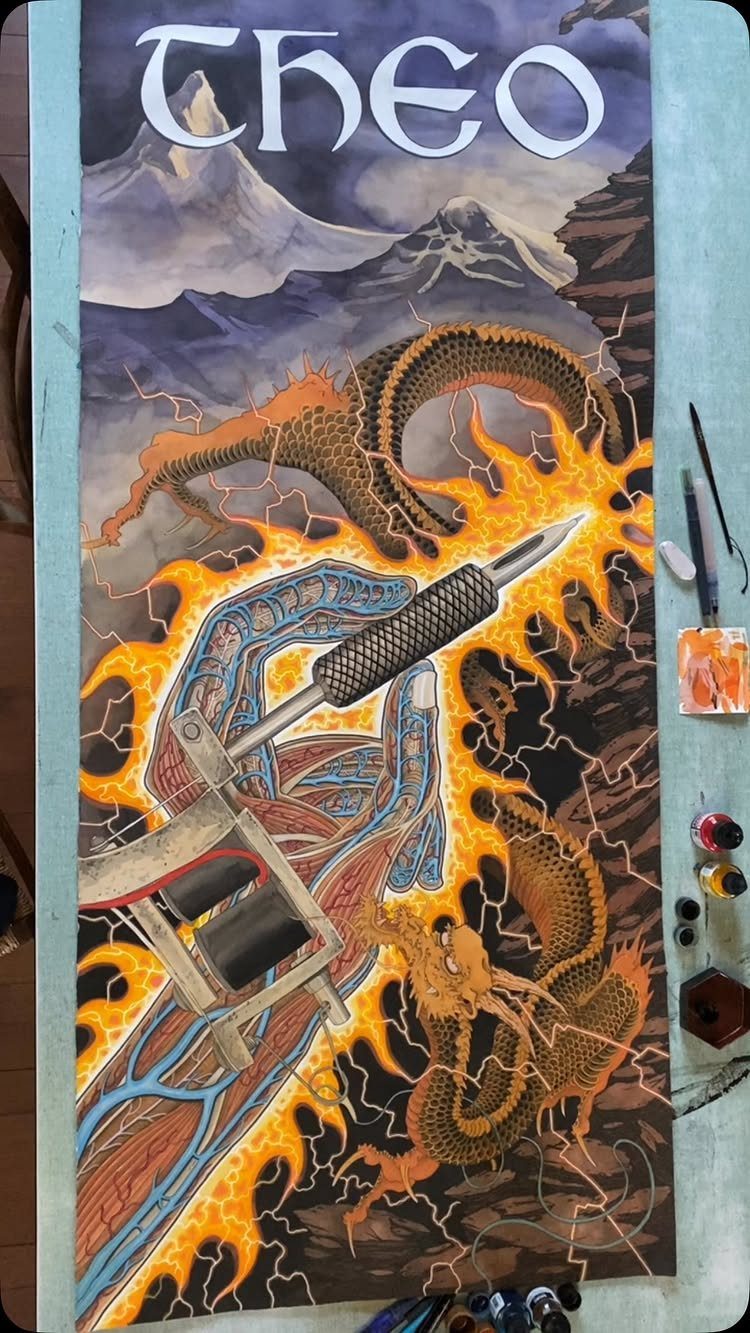
Showing the hand in position gives the drawing action instead of just displaying the tool. The fingers wrapped around the grip and the slight tilt of the machine make it clear someone is working, not posing.
Flames and a dragon behind the hand add drama and fill the negative space, but the hand and machine stay the focus.
If you are drawing this, get the thumb placement right first; the rest of the fingers follow from there. The fire and creature can be as simple or detailed as you want once the hand reads correctly.
9. Colorful Tattoo Machine Drawing
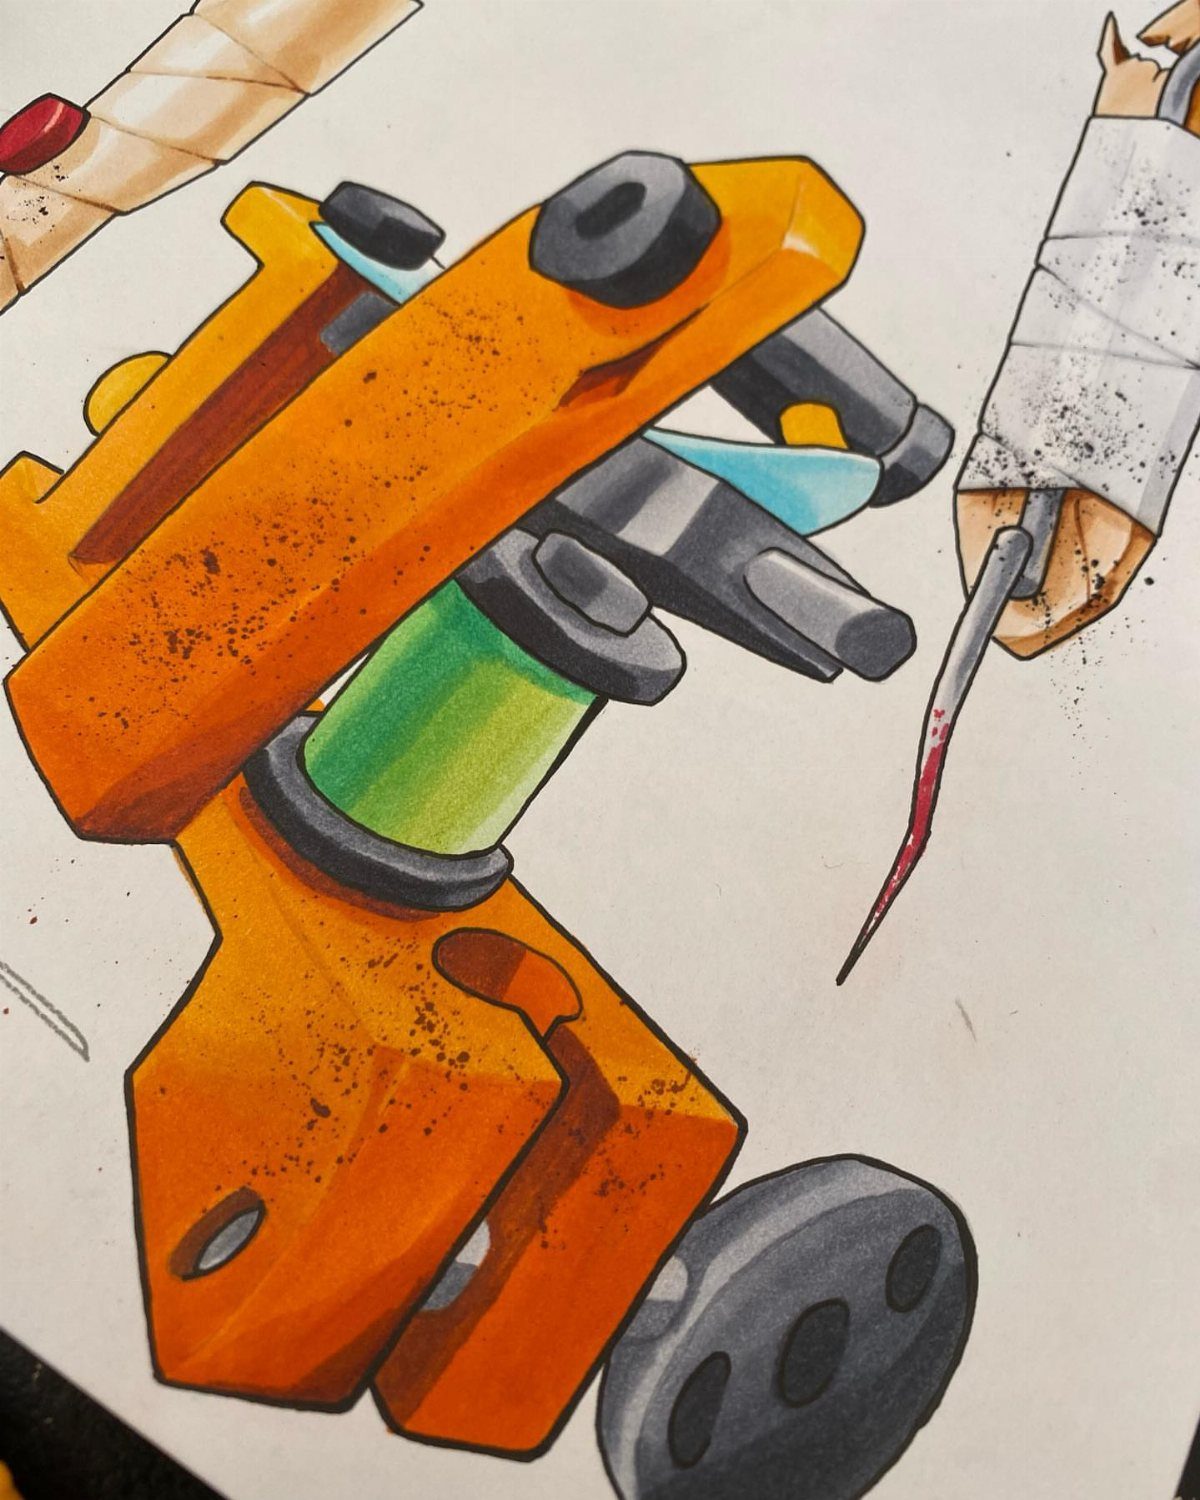
Markers let you lay down solid color fast, and an orange body with a green cartridge gives you enough contrast that the machine stays readable even when the whole drawing is bright.
The needle breaking through skin with a single drop of blood shows function, not just form.
White paper behind bright markers makes the colors pop more than a toned background would.
Keep your outlines clean, because marker bleeds if you go back over a line too many times. This approach works well for flash sheets or quick studies when you want something finished in one sitting.
10. Devil Holding Tattoo Machine
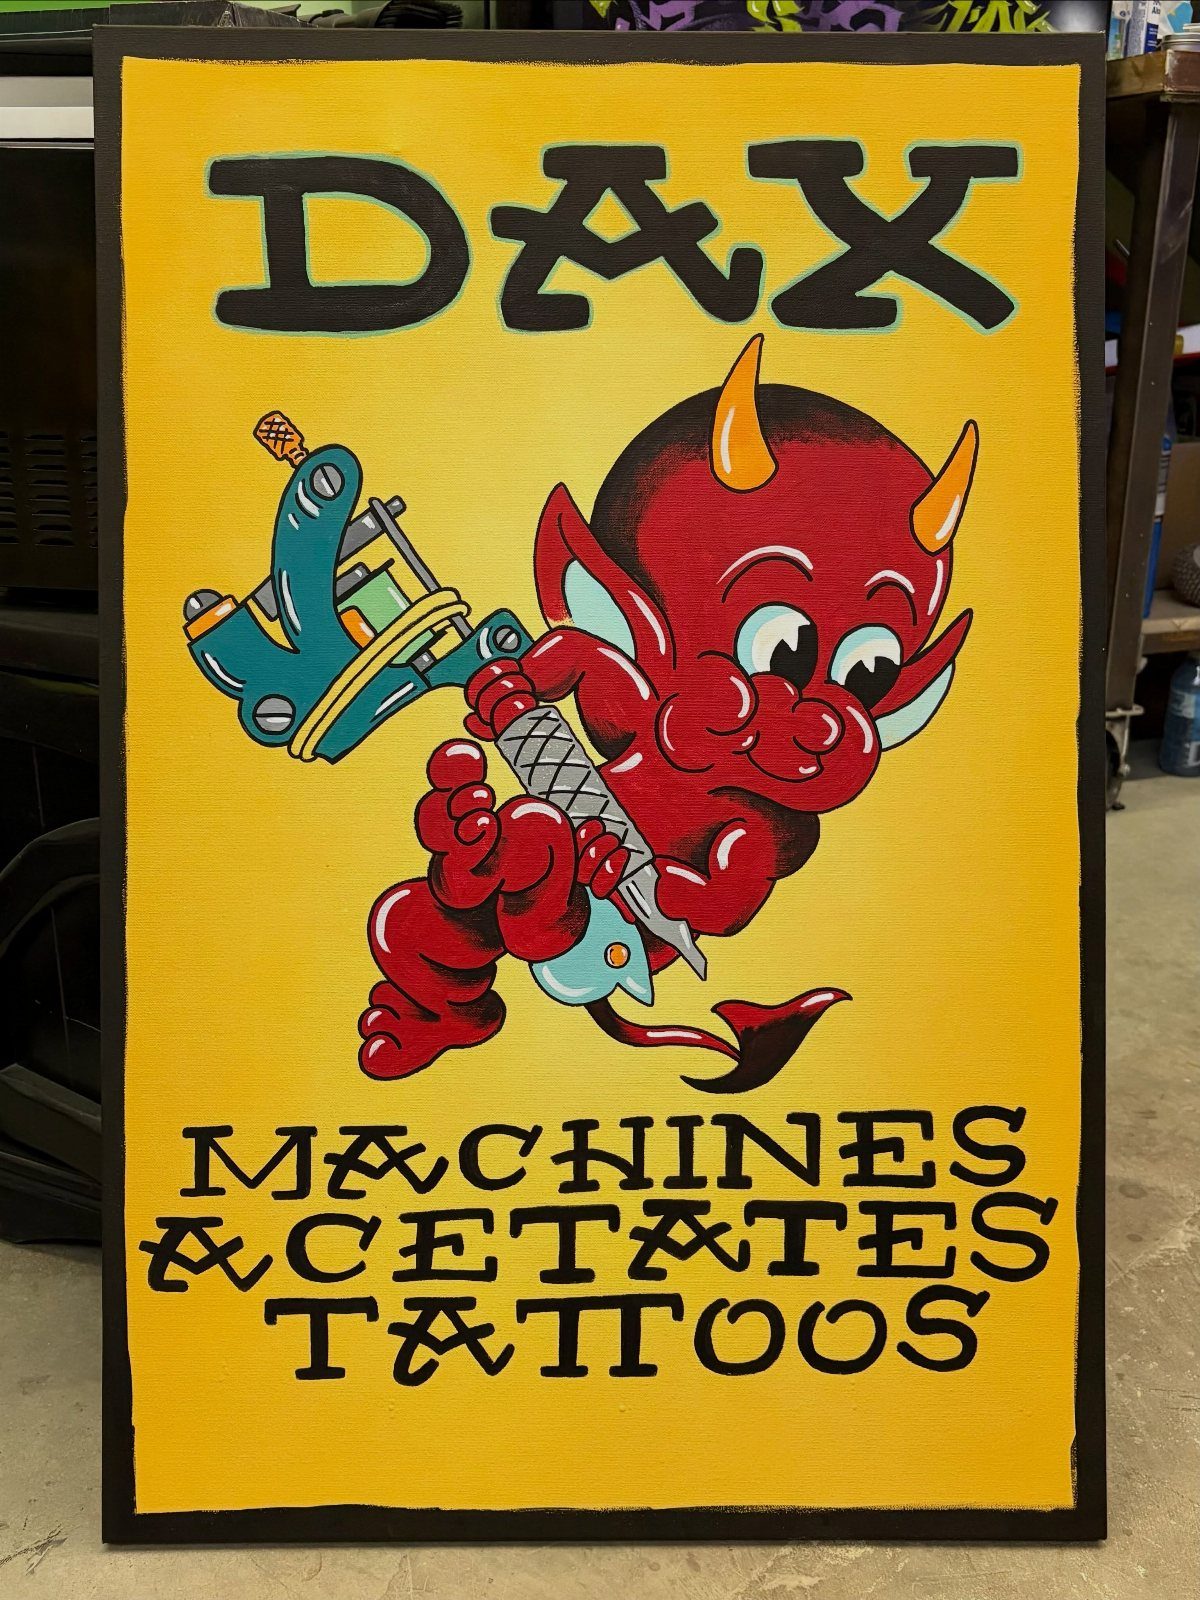
A cartoon devil turns the machine into a character piece, and the flat graphic style with bold outlines keeps the whole thing simple enough to paint on wood, canvas or a sign.
The yellow background pushes the red devil forward, and the blue machine gives you a third color without crowding the palette.
Text around the figure makes this feel like vintage flash or a shop logo.
If you are painting this, block in the background color first, then the devil, then the smaller details like the machine and lettering. The style suits signage or a hand-painted board more than fine-line tattoo work.